|
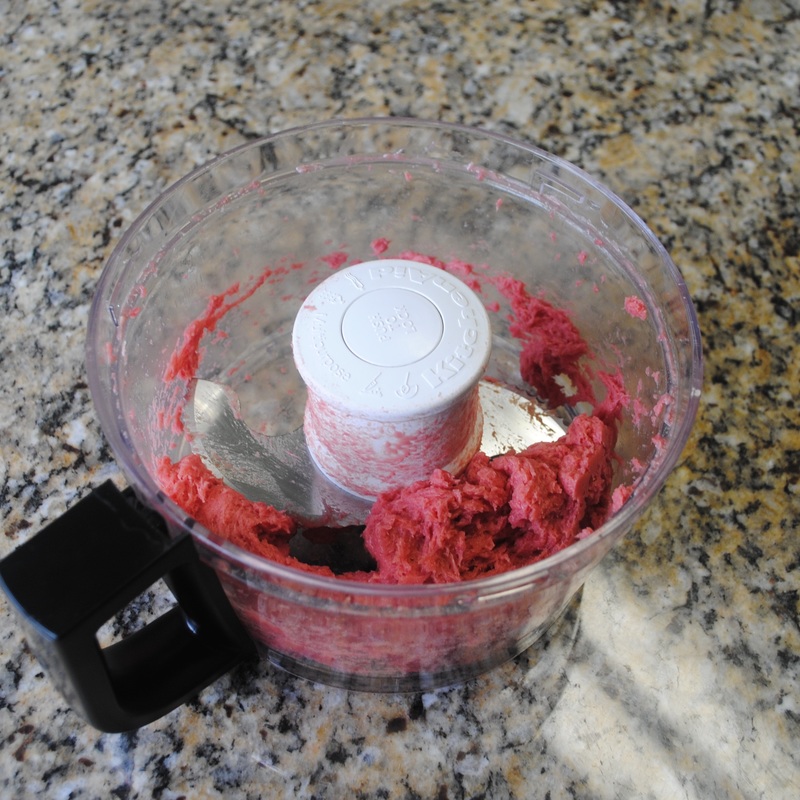
Check out this informative article/guide to learn everything you need to know about food processors: An Extra Hand in the Kitchen As you've probably noticed, many of our recipes require the use of a food processor. A food processor is important to have when preparing dishes like our hummus and baba ghanoush. It speeds up prep time and makes the process a lot easier! A food processor is also very useful when preparing kibbeh nayeh and even toum (when you don't have a mortar and pestle set).
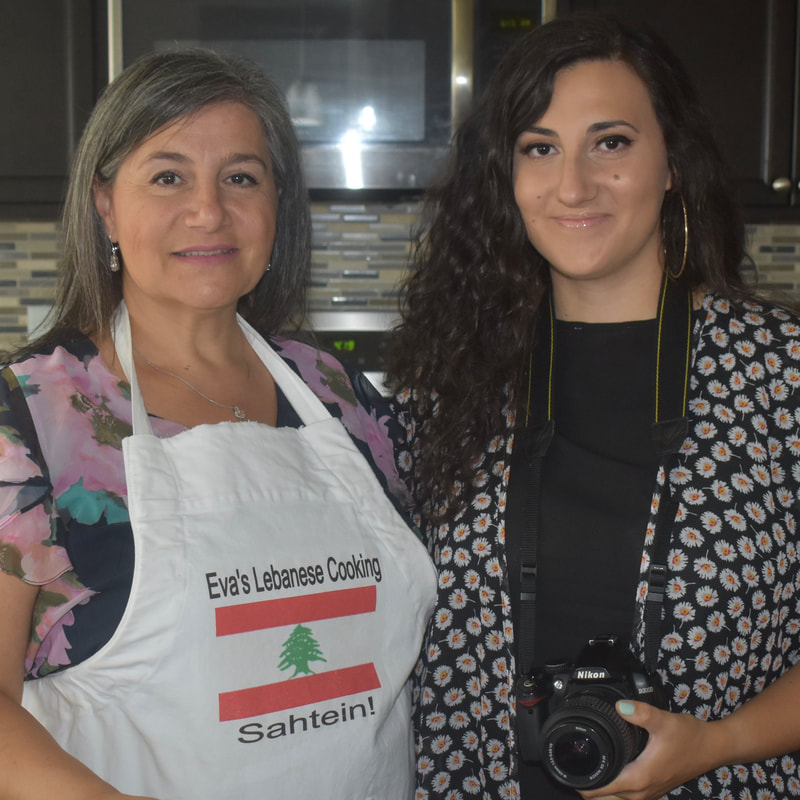
Happy cooking!
2 Comments
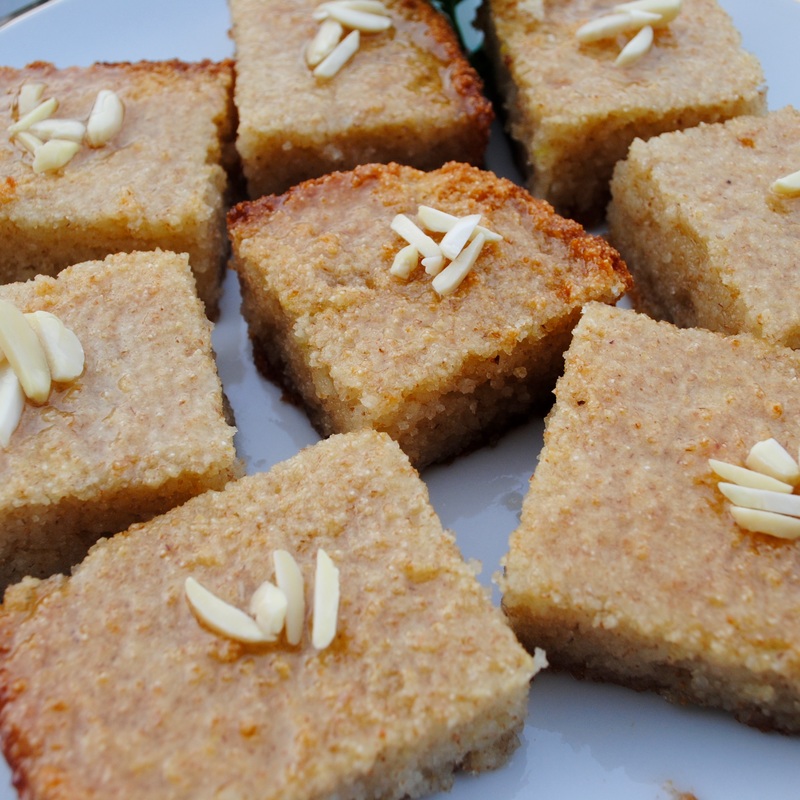 More Lebanese sweets! Harissa, a dessert made with cream of wheat (and other yummy ingredients) is eaten with atyr, that delicious syrup made of sugar and water. Preparation is not too difficult, you will just need to mix your ingredients together and bake them! If you're craving a dessert that will truly satisfy your sweet tooth, this is the recipe for you! Prep Time: 15-20 minutes Cook Time: 50 minutes Ingredients:
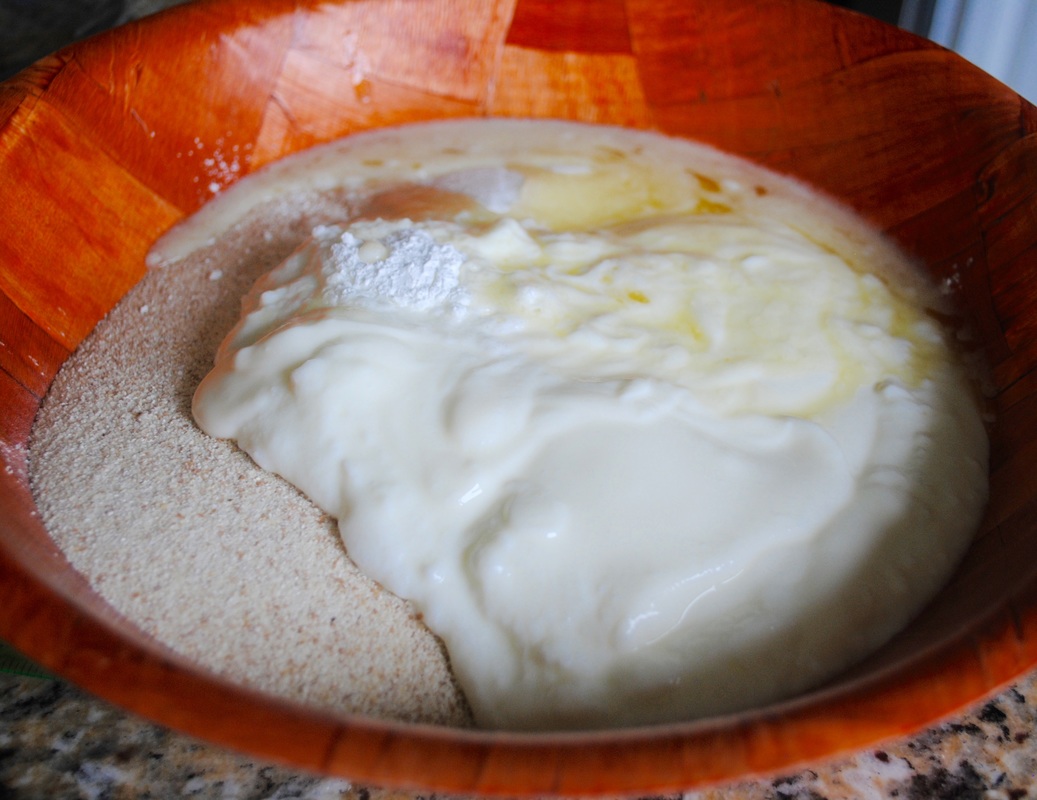
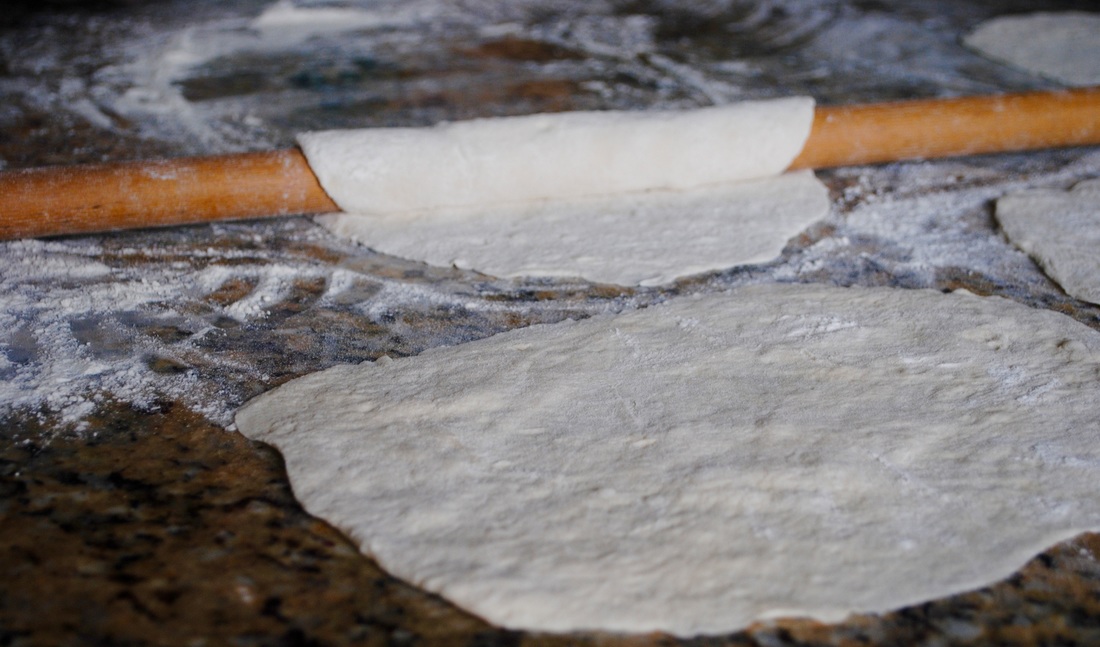
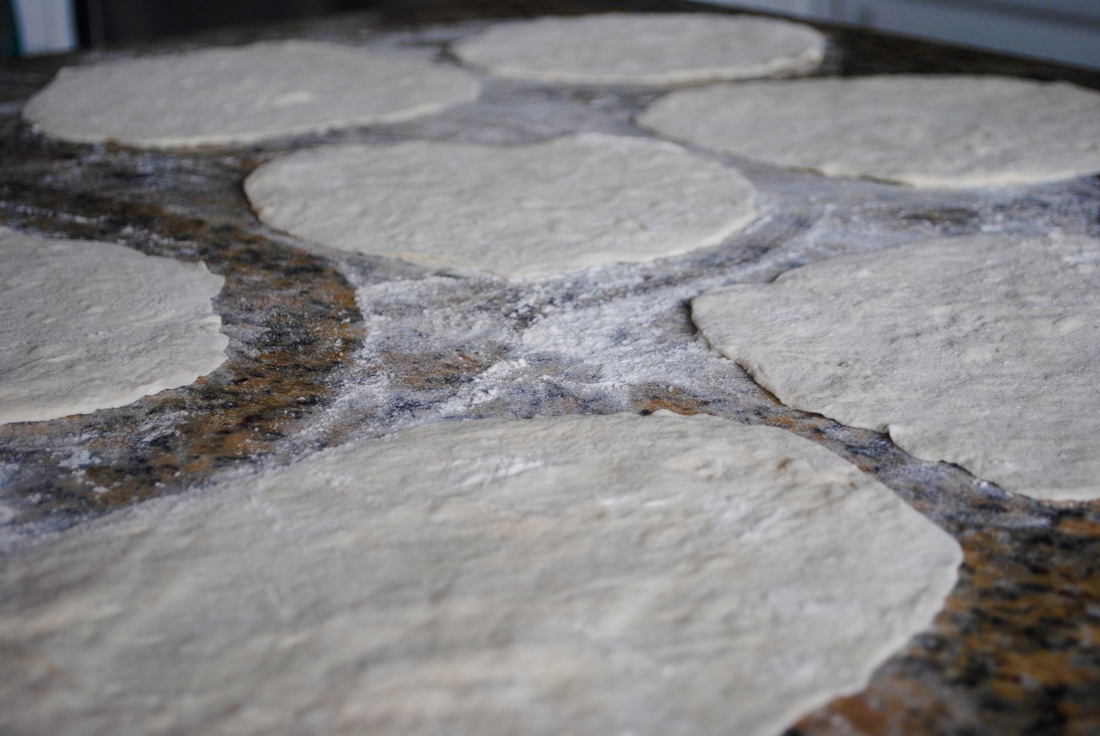
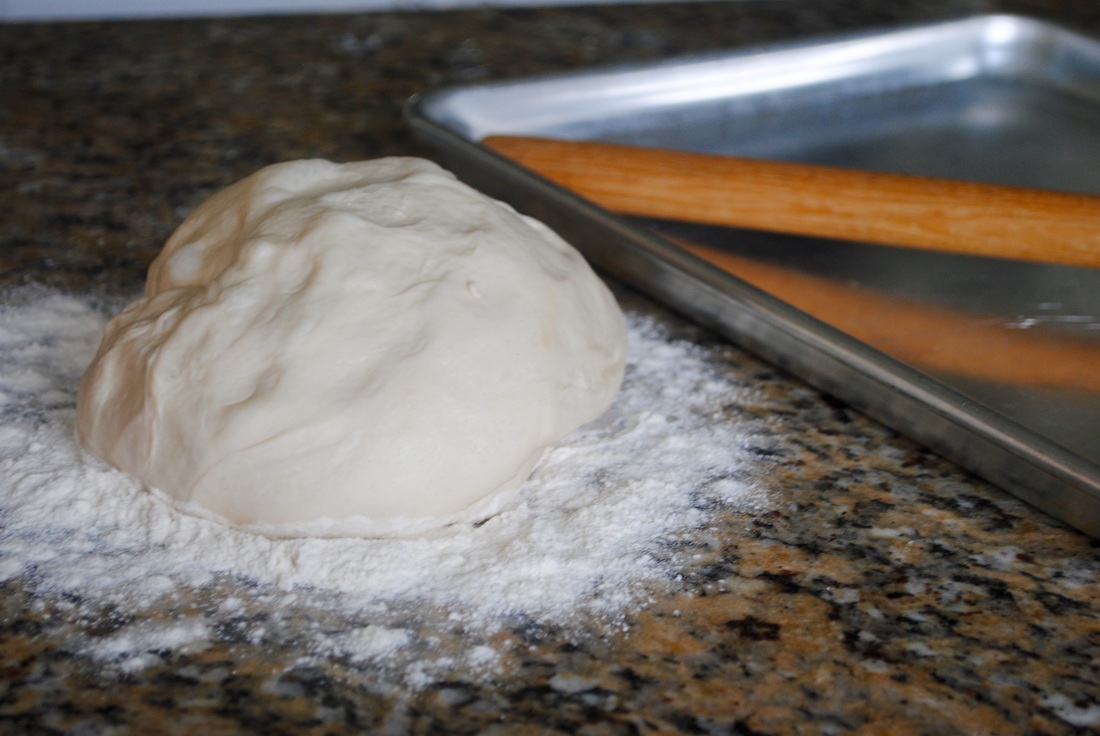
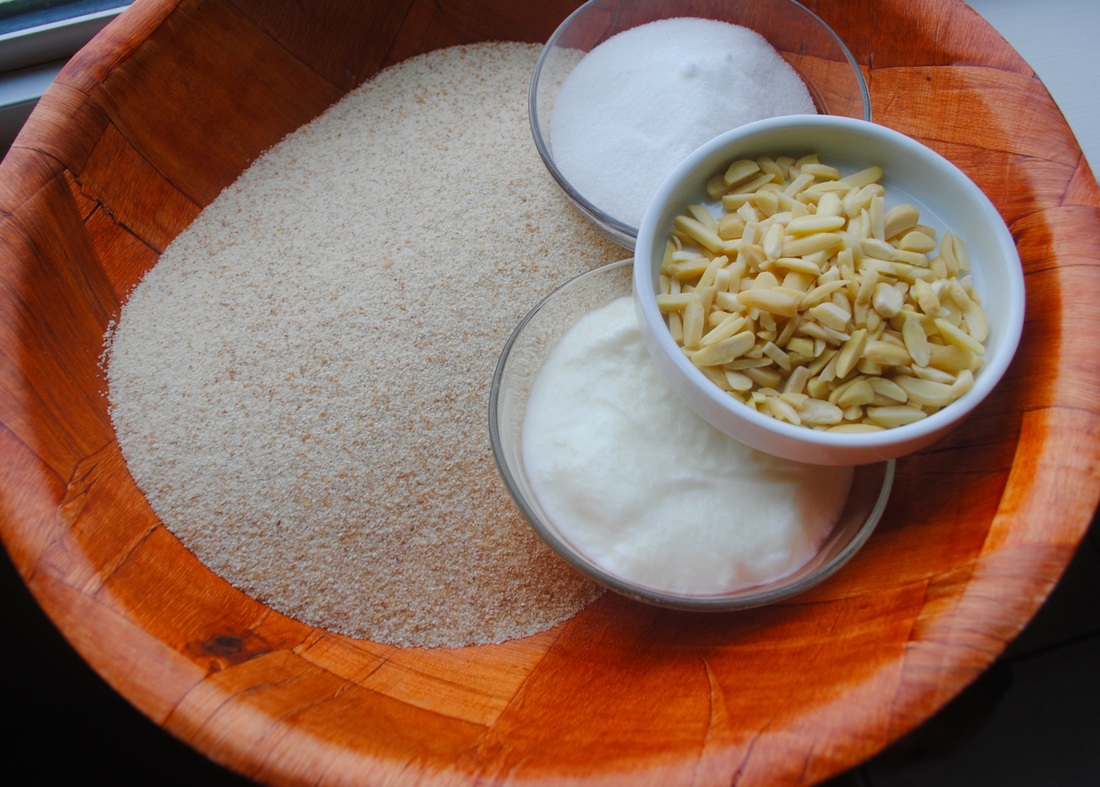 Instructions: 1. Put 2 cups of sugar in a small pot and add 1 cup of water and 1/2 teaspoon of rose water, on medium low heat, stir with wooden spoon and let it come to a boil (about 10 minutes) 2. After 10 minutes, at this point syrup has been boiling and thickening, turn stove off and add 1 tablespoon of lemon juice and let cool off in pot 3. Preheat oven to 350 degrees and grease 8x8 or 11x7 baking pan (depending on how thick you want your harissa) 4. Add semolina (cream of wheat) to bowl 5. Melt butter (takes about a minute to melt in microwave) 6. Add sugar, yogurt, baking powder, melted butter & mix well 7. Pour into baking pan, evenly spread out, wiggle pan a few times if needed to make sure it’s all packed in 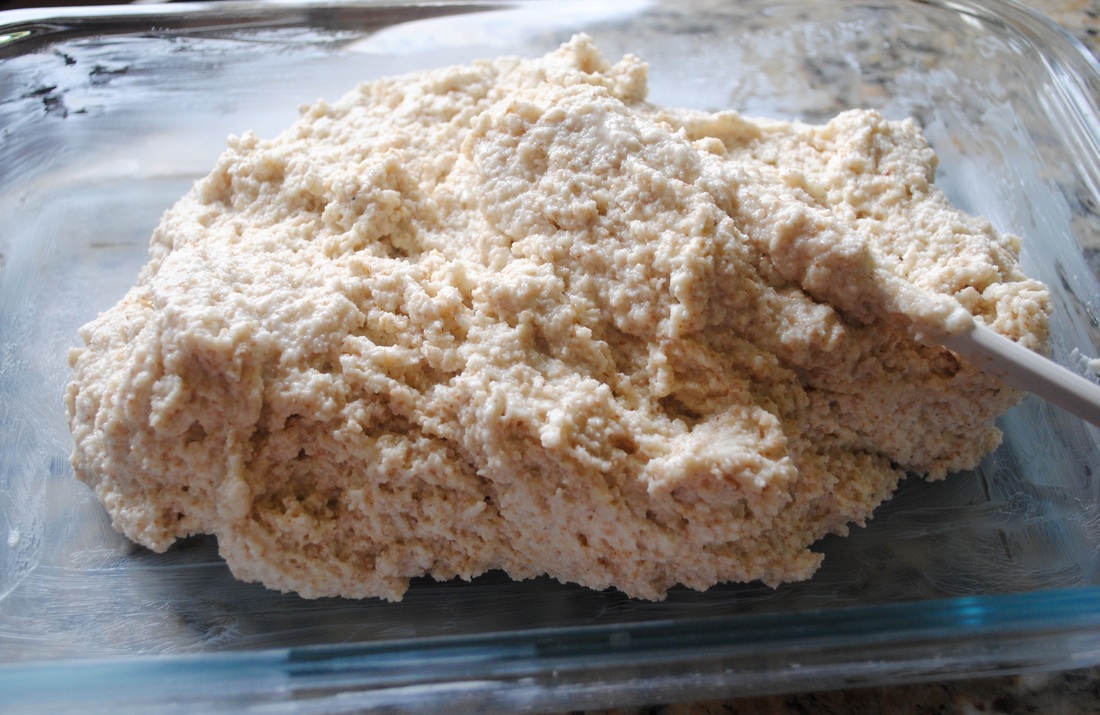 8. Add to bottom rack of oven for 45 minutes and move to the top rack for the remaining 5 minutes 9. Cut immediately after taking it out of the oven into squares, or whatever shape you choose 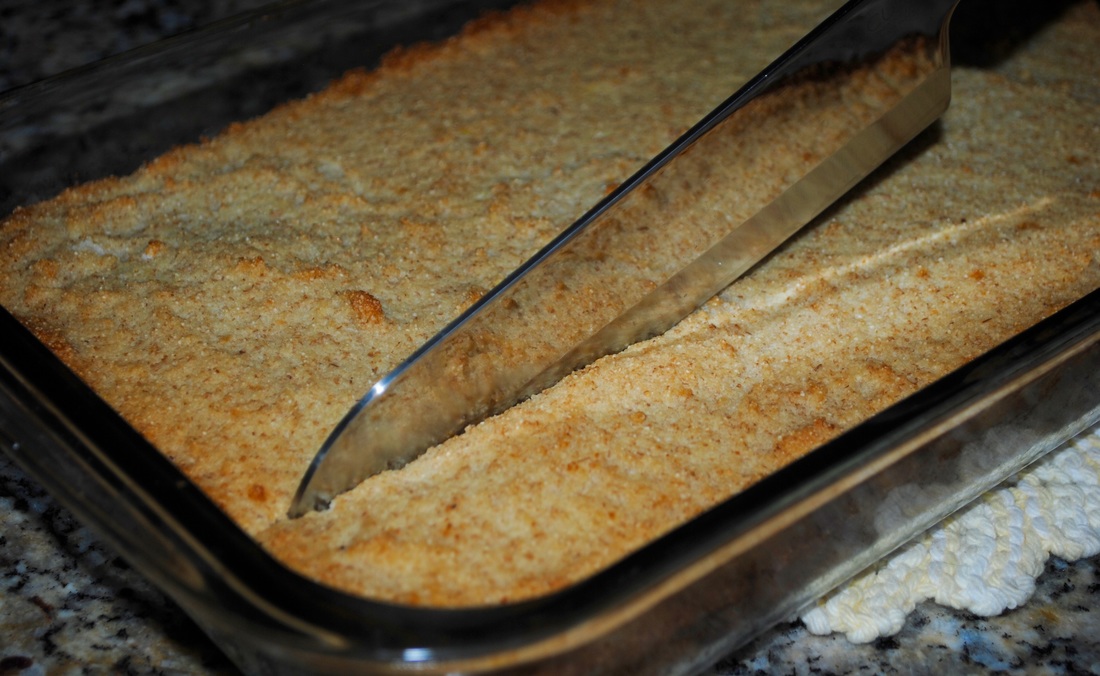 10. Once cut, pour atyr. Atyr is optional, you can pour it right on and let it soak, or you can pour it on each individual piece you serve 11. *Optional, add nuts to pan prior to baking by sprinkling it on, or garnish after baked 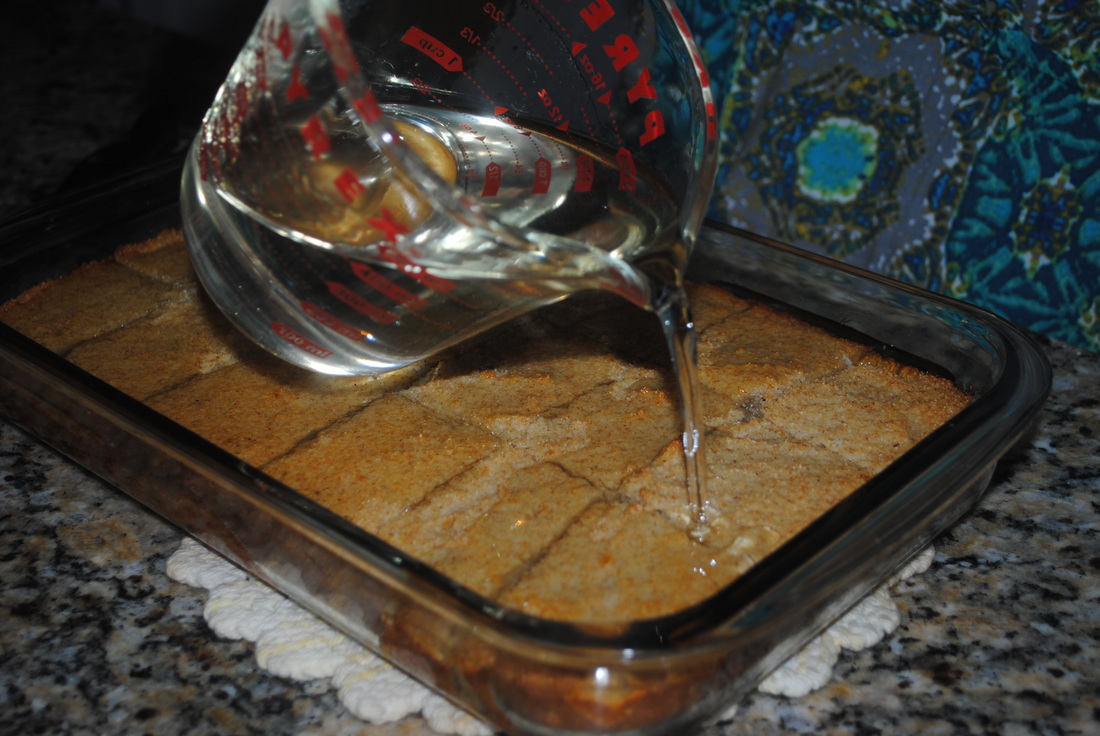 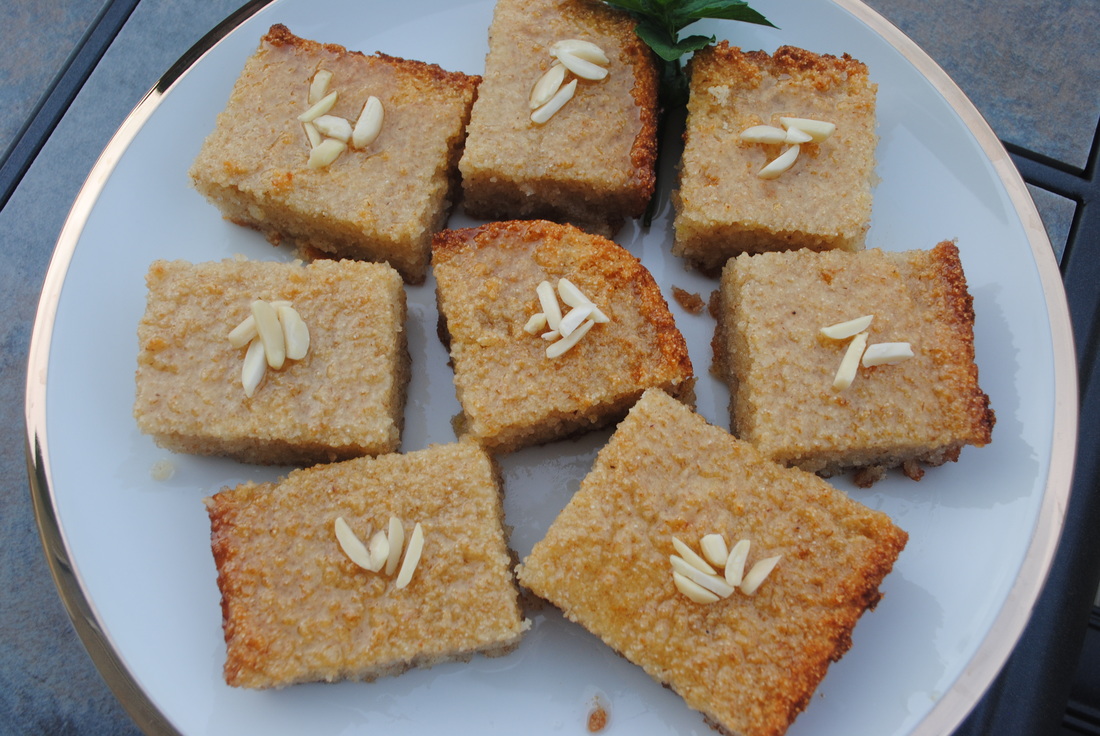 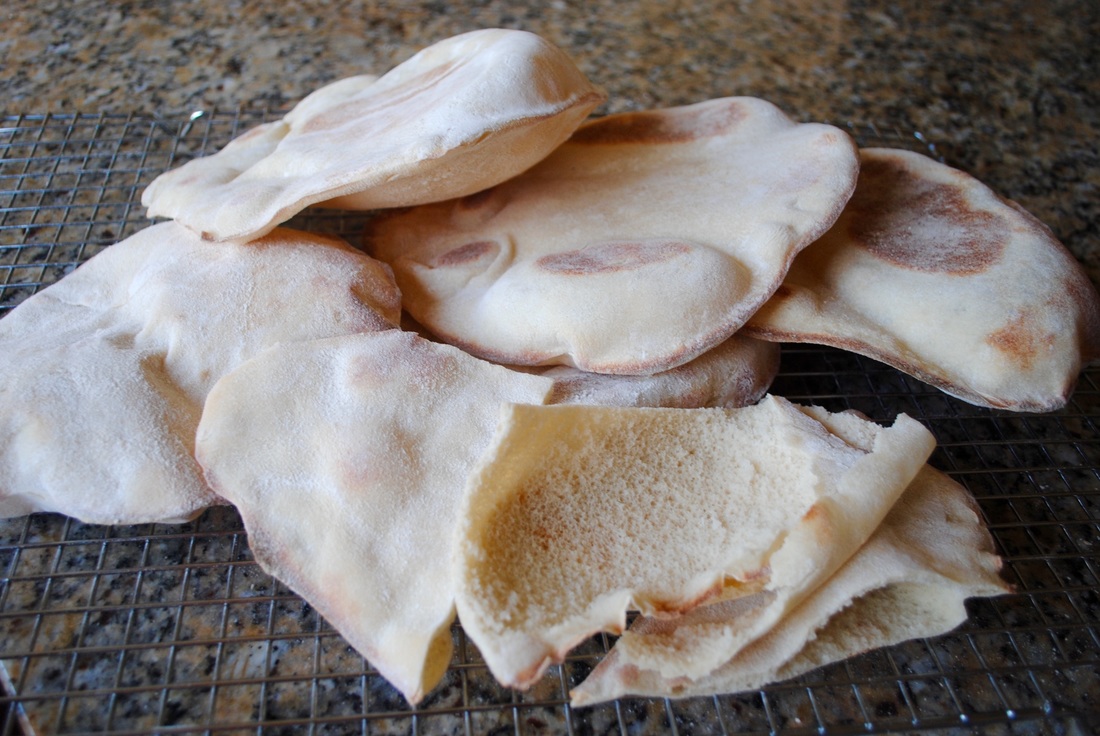 Back in the day, it wasn’t as easy to head over to the bakery to buy some pre-made packaged pita bread. So, of course, it had to be made from scratch! Our kitchens today aren’t designed like they were many years ago, so pita-baking methods have changed through the years. We normally don’t make our own pita bread because we live near grocery stores and Middle Eastern stores that sell it. Not everyone is as lucky, so we wanted to post this recipe! Everyone deserves to have pita bread in their life! Traditionally, brick ovens are used to make pita bread, but unfortunately we don’t have one so we will be using a baking sheet and a regular oven. *If you have a pizza brick oven, you could use that! Ingredients:
Serving size: 24 ounces makes 8 pita rounds Items needed:
 1. Preheat oven at 550 degrees 2. Cut dough into 3 oz. balls (a little smaller than a tennis ball if you don’t have a scale) 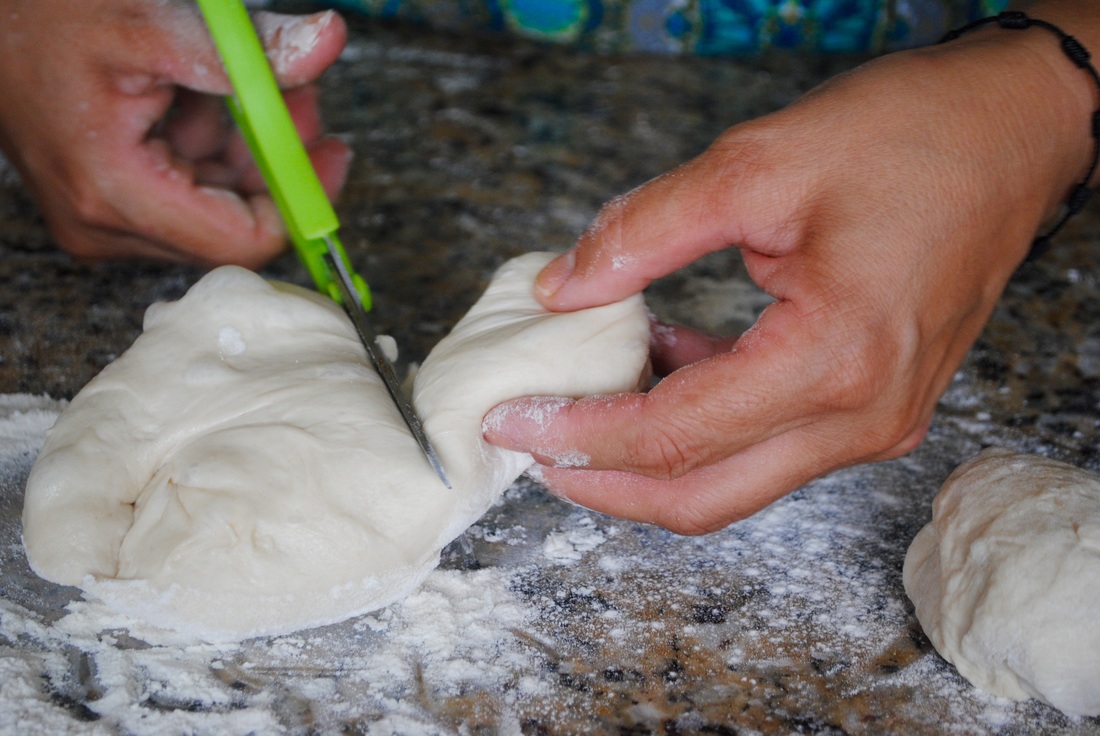 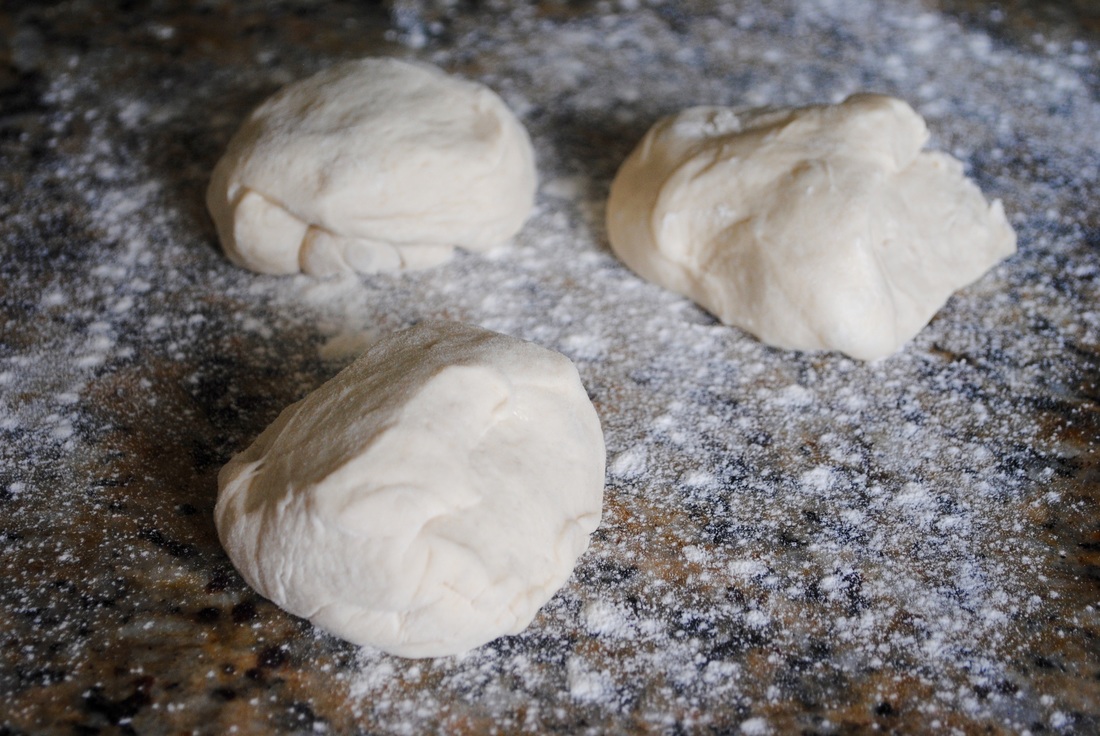 3. Use roller to flatten it (try not to flatten it with your fingers because this will keep the bread from bubbling (rising) and separating) 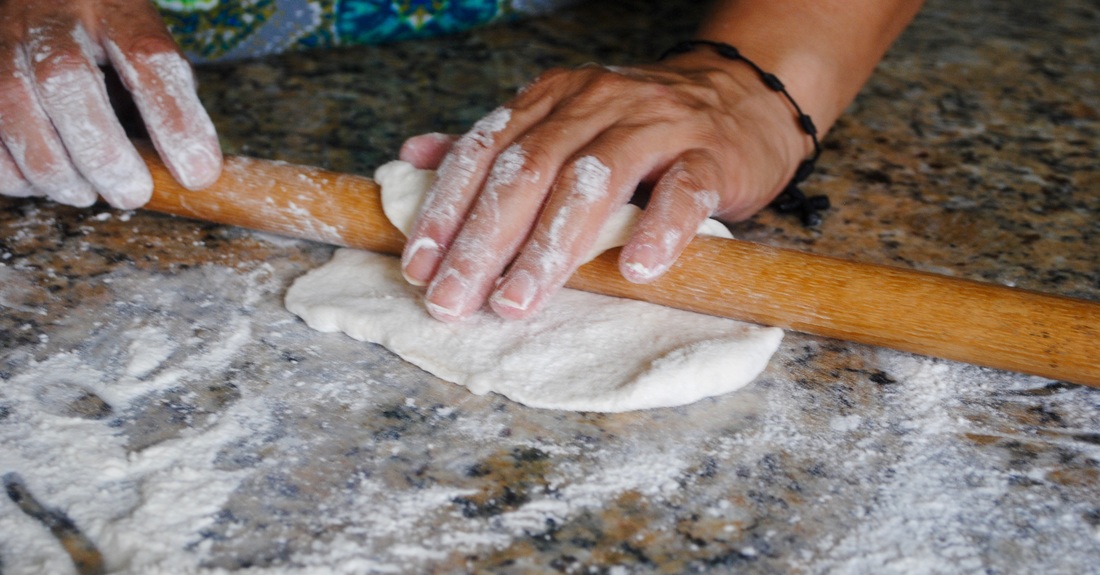 4. Make sure the side of your pita going face down is floured well before placing them in your baking sheet 5. Move your oven rack to the center of the oven. Place baking sheet in oven and time it for 7 & a 1/2 minutes, or until browned. (Make sure oven is already preheated before adding your bread) After baking your first set, keep an eye on your pita in the oven. You may not need all 7 minutes because the oven will be very heated at this point 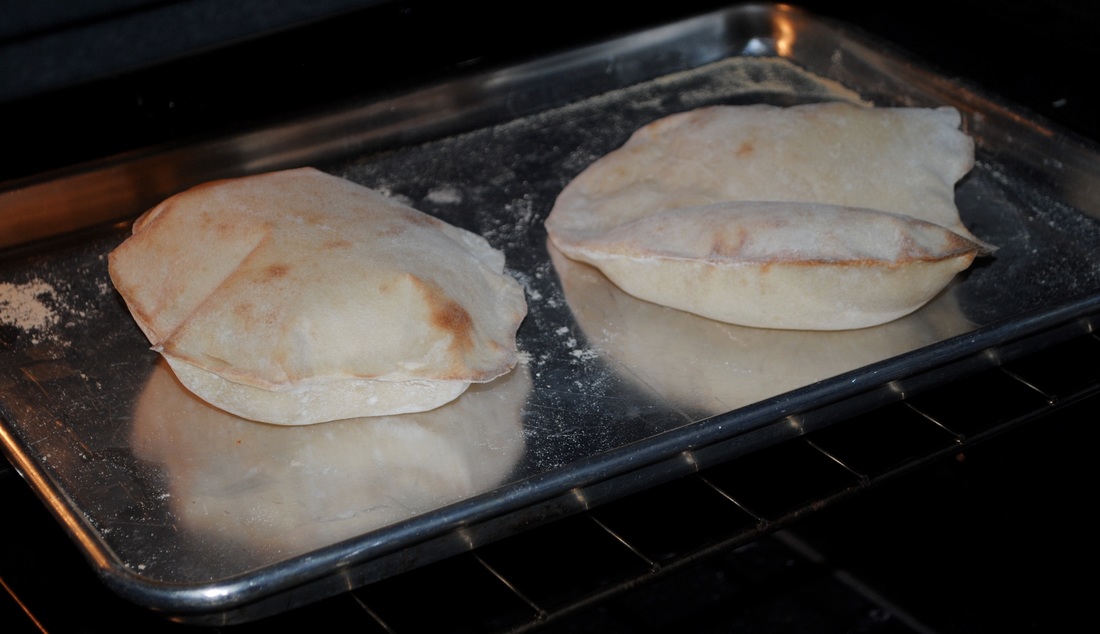 6. Remove from oven and place on cooling rack
The goal is to get your pita to rise in the oven like in the last picture. Check out our hummus, loubieh bil zeit, eggplant m'nazleh, and baba ghanoush recipes for something delicious to go with with your homemade pita! Enjoy! |