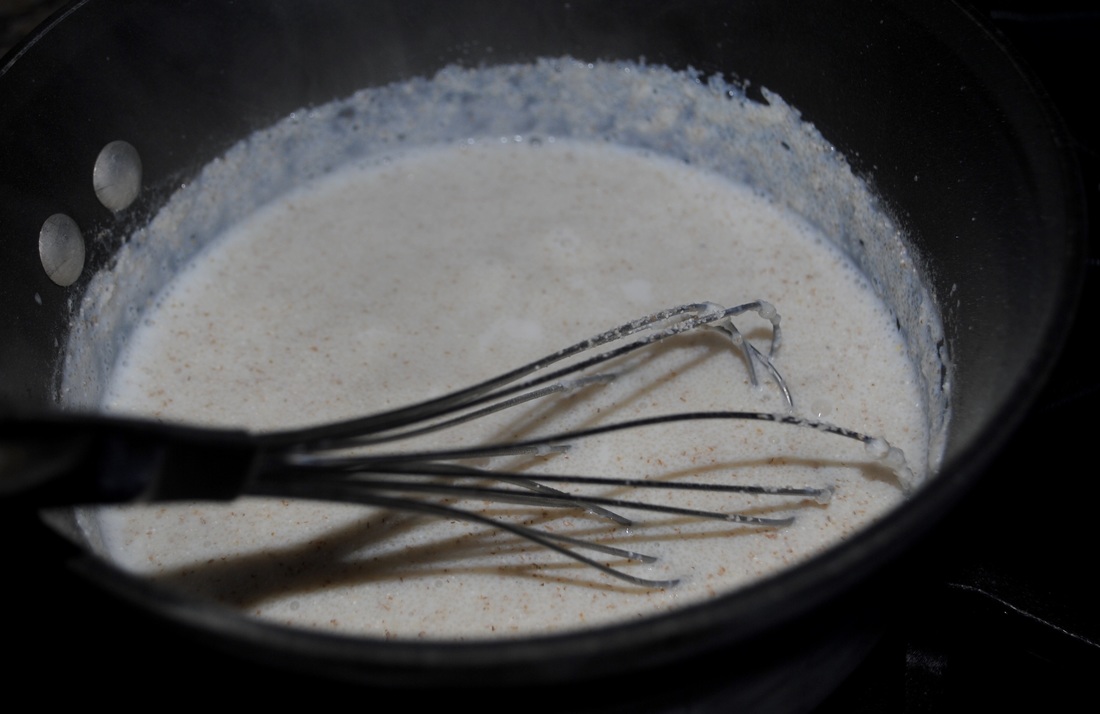
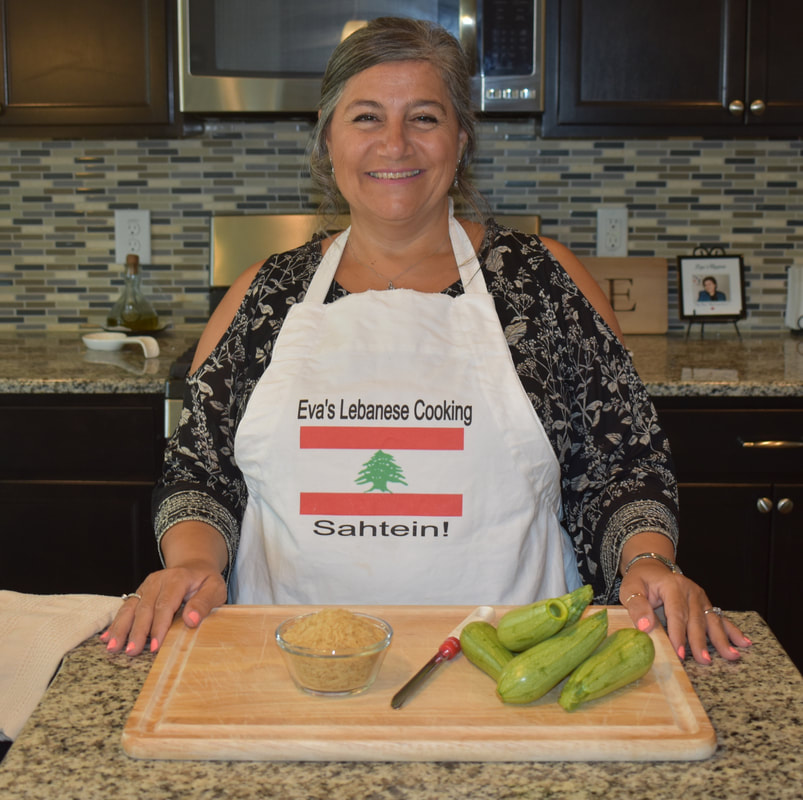
 We are not sure where Smeaddieh Bil Sayniyeh (translates to cream of wheat in the pan) originated, but Eva's mother used to make this dessert often! It's customary in Lebanese culture to feed your houseguests and make them feel special. This was my grandmother's go-to dessert to make when she had unexpected guests over. It's delicious and not only easy to make, but also very quick! The main ingredient is cream of wheat so it's similar to Harissa but not as heavy. It's also eaten with atyr, the super sweet and yummy syrup used in a lot of Lebanese desserts. Good luck! Ingredients:
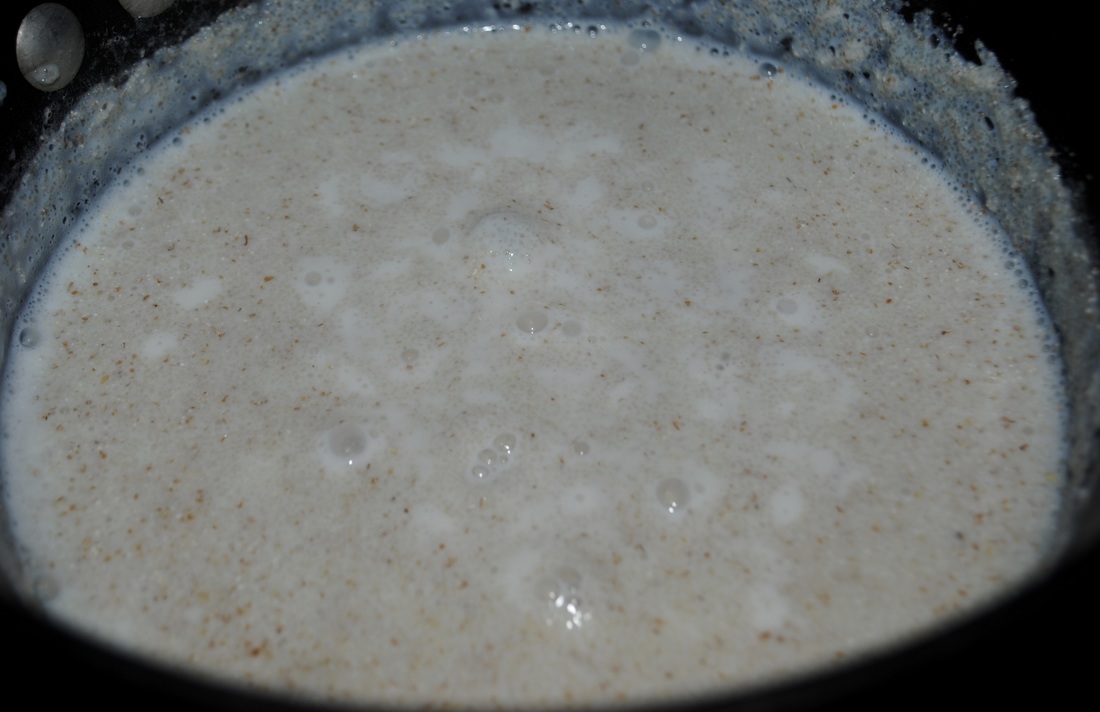
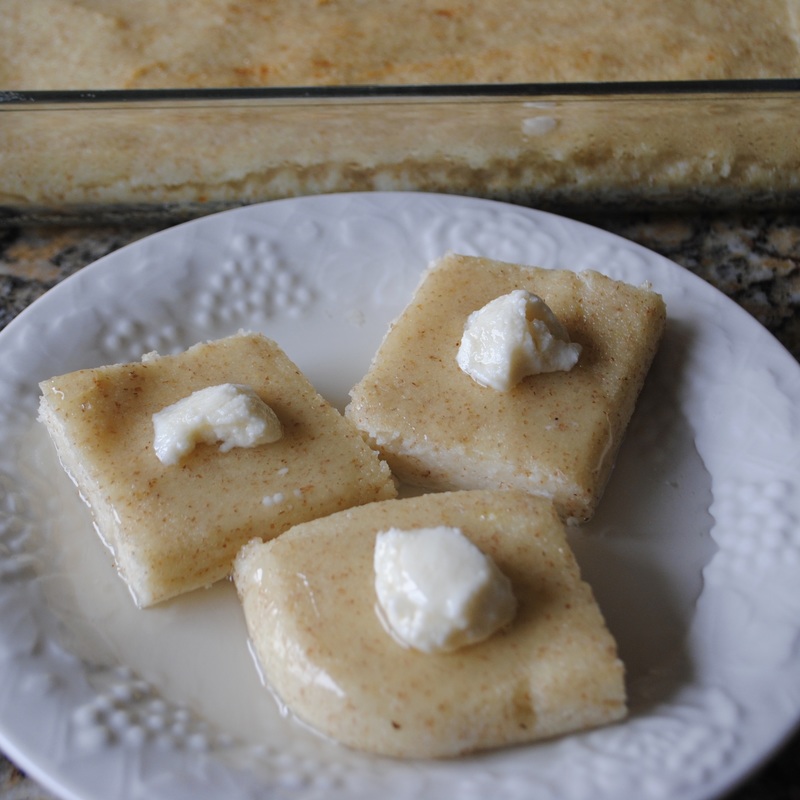
Instructions: 1. To make your atyr: add your sugar, water, and rose water to a pot and bring to a boil 2. Let boil for 5 minutes and then turn your stove off. Stir in lemon juice and let cool 3. Preheat your oven to 375 degrees 4. Butter a baking pan, Eva uses a 12 x 7.5 (pyrex) 5. In a pot, bring 2 cups of milk to a boil 6. Once the milk begins to boil, gradually start stirring in your cream of wheat and keep stirring until it begins to thicken 7. Once it has thickened, turn your stove off and pour it into your buttered baking pan and let rest for at least a 1/2 an hour or more (overnight works too) 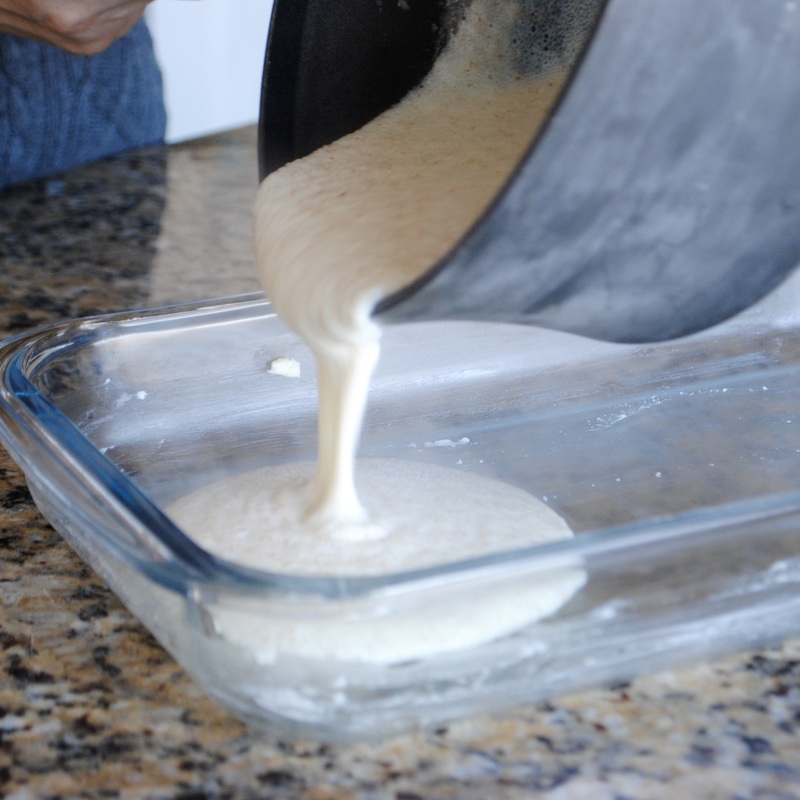 8. Place the pan in your oven for 20 minutes on the bottom rack 9. After 20 minutes, move the pan to your top rack and broil for 5 minutes (or until golden brown) 10. After it has become golden brown, let it rest for 15 minutes before cutting it into squares (or however you choose). Use a bread knife or serrated knife when cutting your Smeaddieh. 11. Add ricotta cheese (optional) and pour some atyr over it before serving Enjoy :) 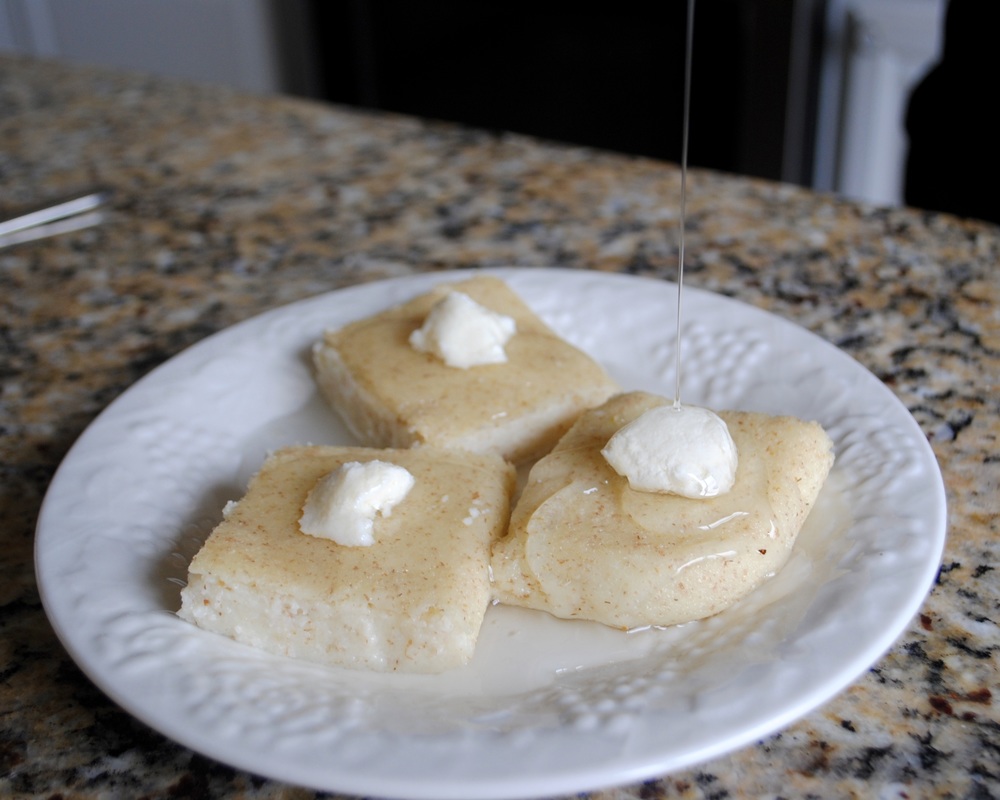
1 Comment
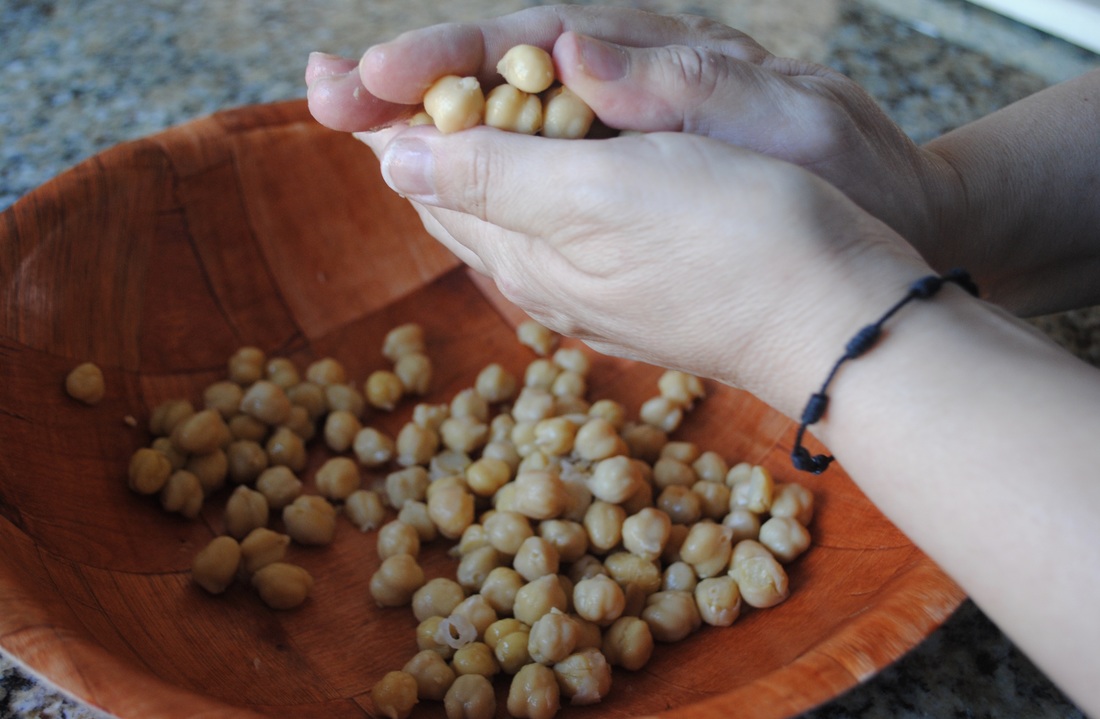
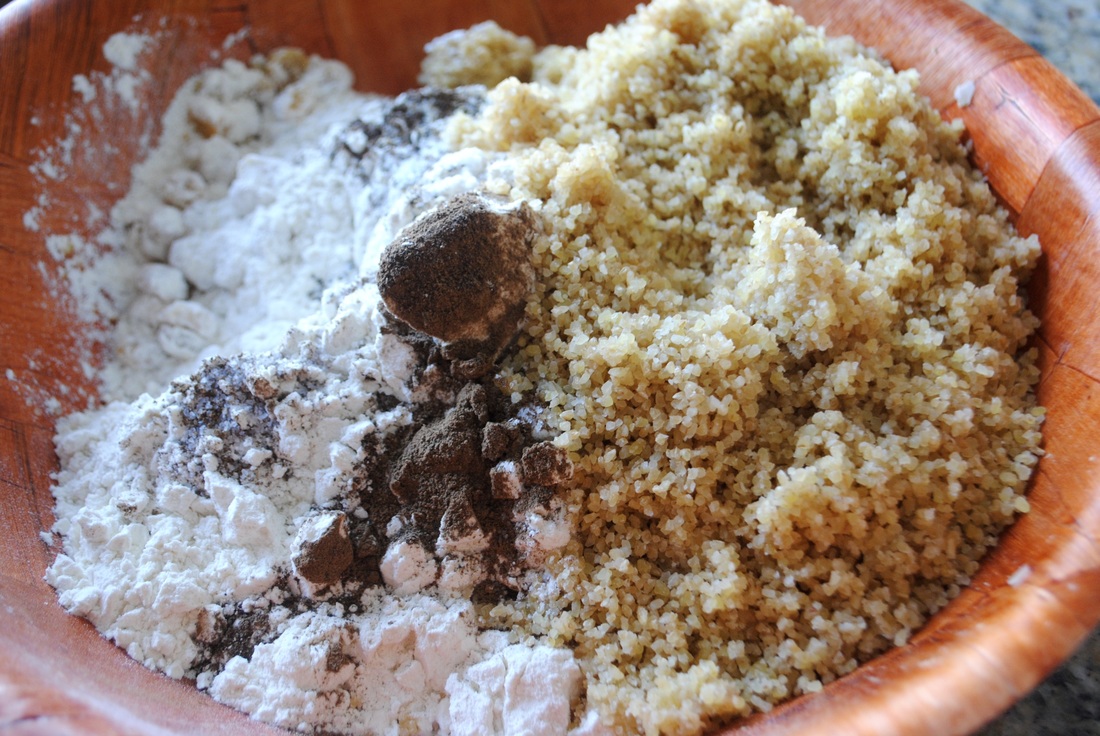
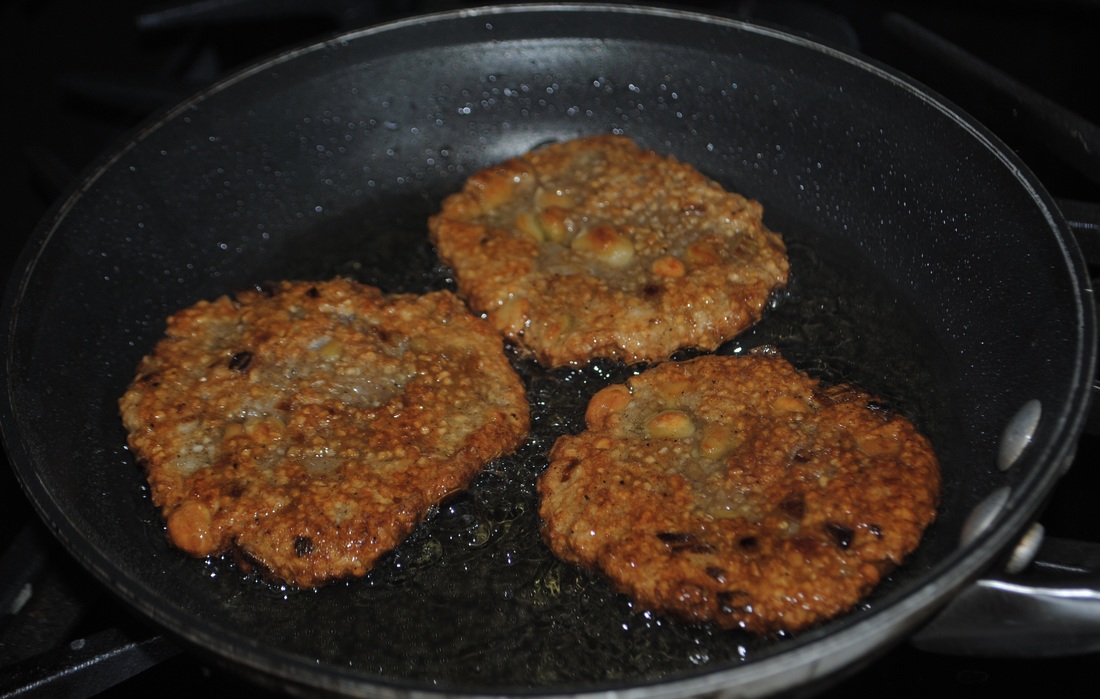
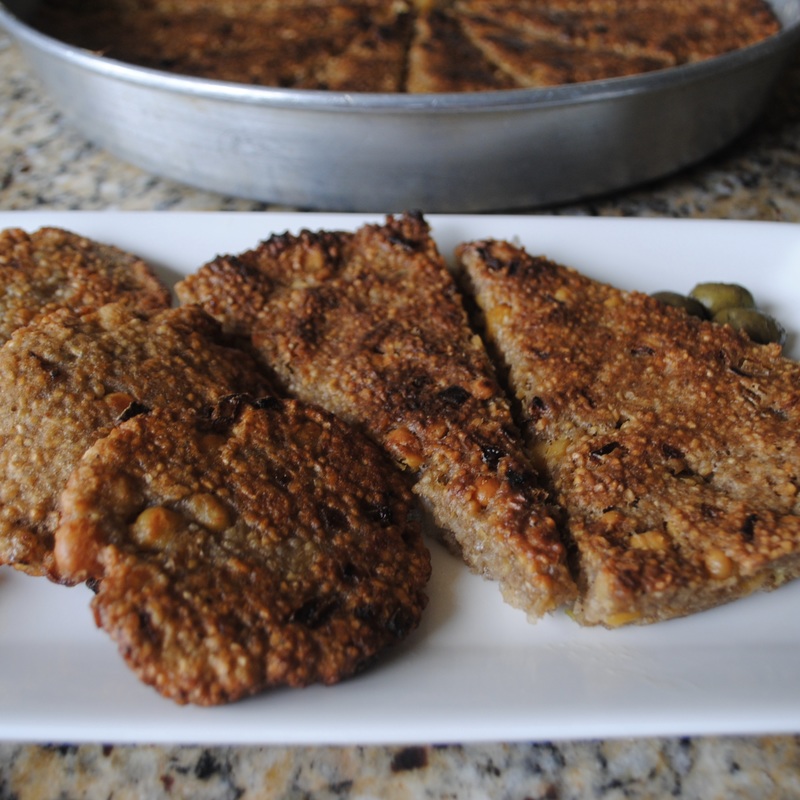 Kibbet Hummus is the meatless version of kibbeh and it's just as delicious! Kibbet Hummus translates to kibbeh with chick peas. What gives it a similar look and taste to kibbeh is the bulgur, but this meatless version requires some extra spices and is traditionally fried in olive oil or baked in a hot oven smothered in olive oil. Whether fried or baked, it is extremely flavorful, and a great kibbeh alternative for vegetarians or for those observing Lent. I love to wrap my Kibbet Hummus in pita bread and eat it as a sandwich! When making this, take some time out for preparing your chick peas, you will need at least an hour to peel them and split them in half. Eva uses canned chick peas to save time, but if you would prefer to use bagged chick peas, you will need to soak them in water overnight. Good luck! Ingredients:
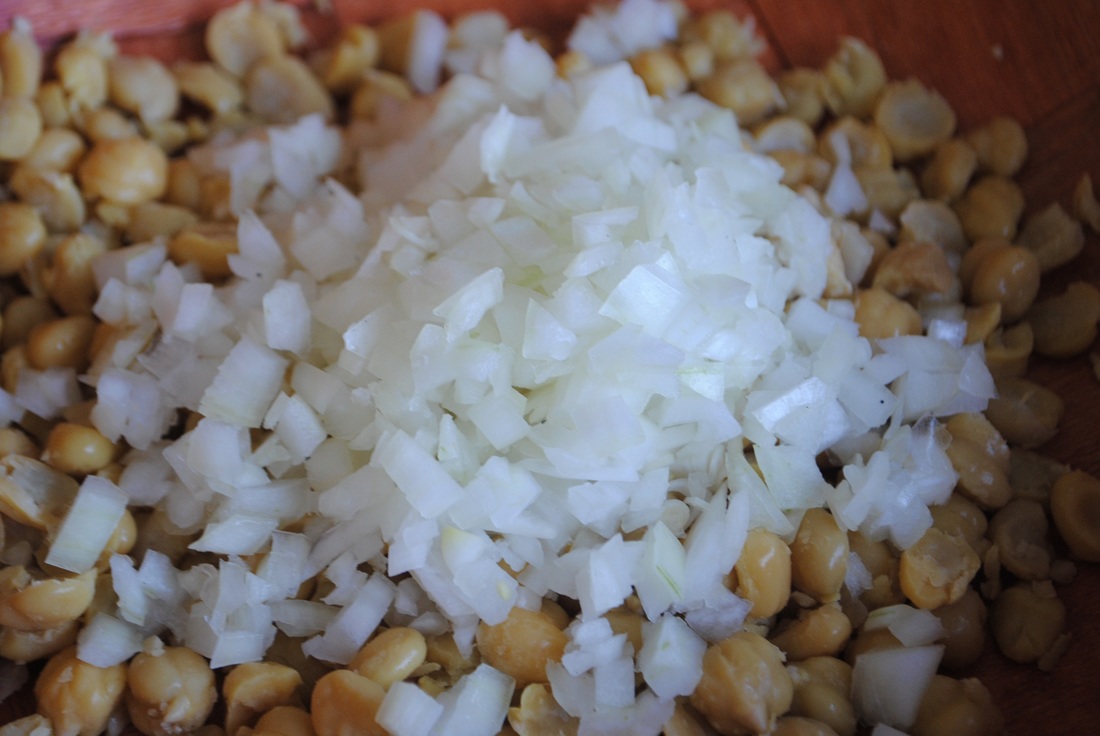
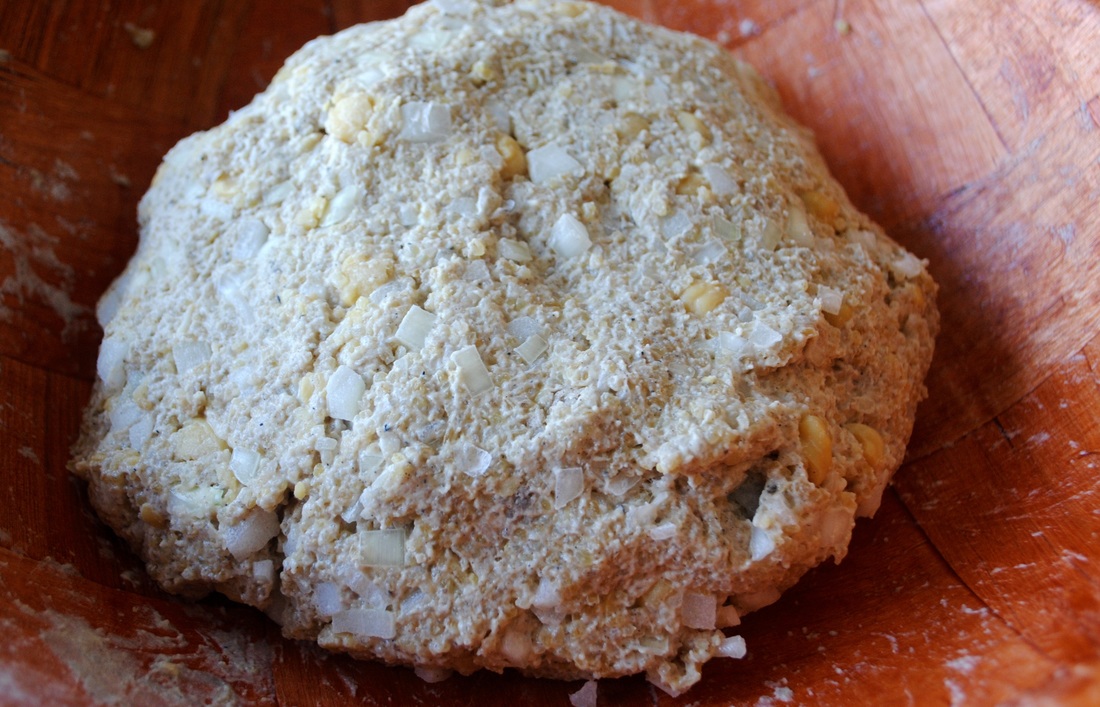
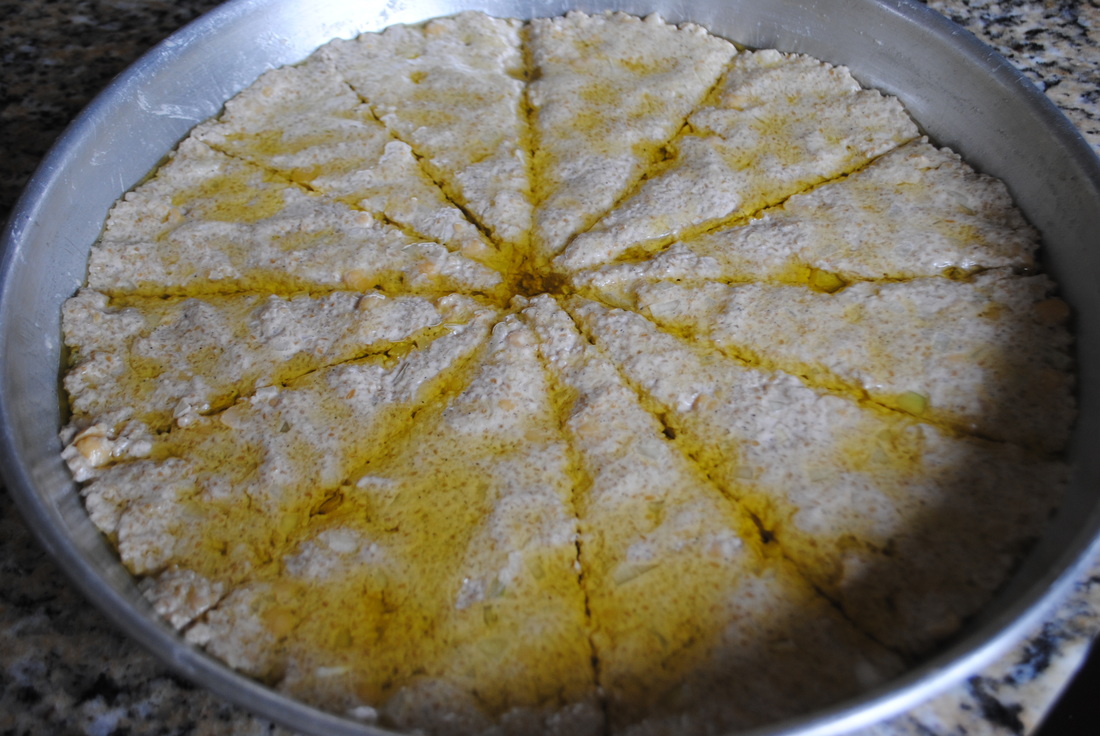
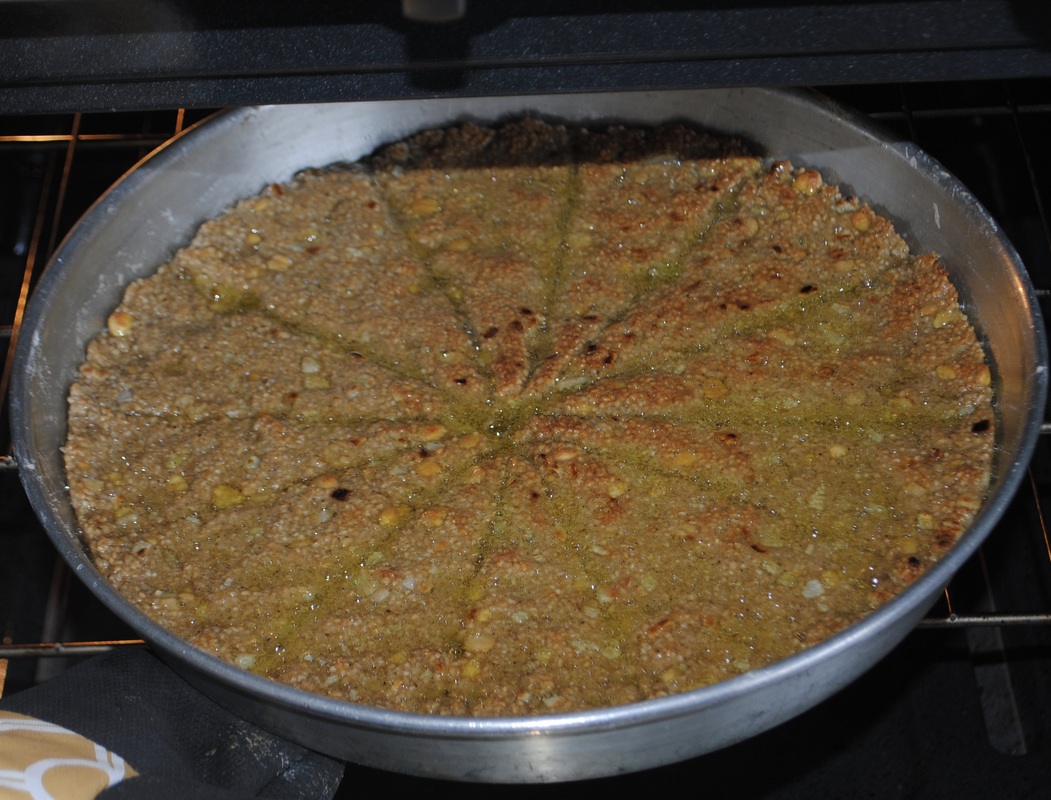
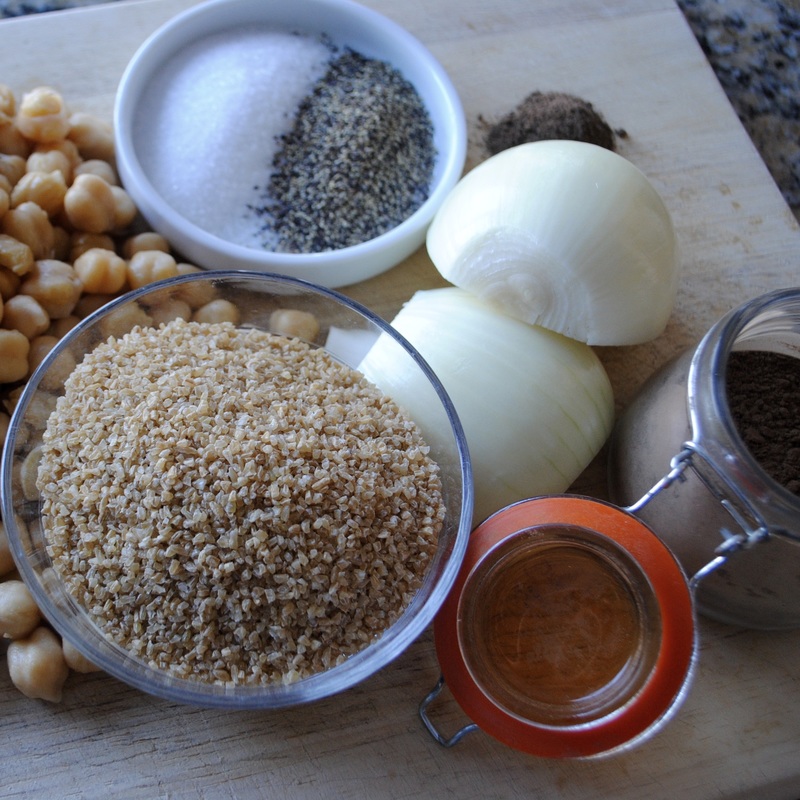 1. Soak 2 cups of bulgur in water, cover it completely with cold water and let it sit while you prep your ingredients (at least 5 minutes) 2. For canned chick peas: rinse them in a strainer under cold water. If you're not using canned chick peas: soak them in hot water and salt overnight 3. Once chick peas have been soaked or rinsed: to peel chick peas, rub together with your hands and the peels will automatically come off, peel as much as you can and try to split them into two as best as you can. If you are using canned chick peas you can do this while rinsing them in cold water. Don't feel you have to peel every single chick pea but try to get as much as you can. Once peeled split the chick peas in half. If it’s already small it doesn’t necessarily have to be split. The reason for splitting them is to get them as small as possible *This step can be done the day before you prepare your kibbet hummus to save time 4. Once your chick peas are peeled and split, add them to a large bowl. Add 1 finely diced onion (as fine as possible), 1/2 teaspoon of pepper, 1/2 teaspoon of white pepper, 1 tablespoon of salt, 1 teaspoon of allspice, 1 teaspoon of nutmeg, 1 & 3/4 a cup of water and begin to kneed into a dough. Pour the water in little by little (if it's too watery, sprinkle more flour in). You want to form it into a dough ball. 5. To bake: coat bottom of a large baking pan with 4 tablespoons of olive oil 6. Spread your mixture evenly over the pan 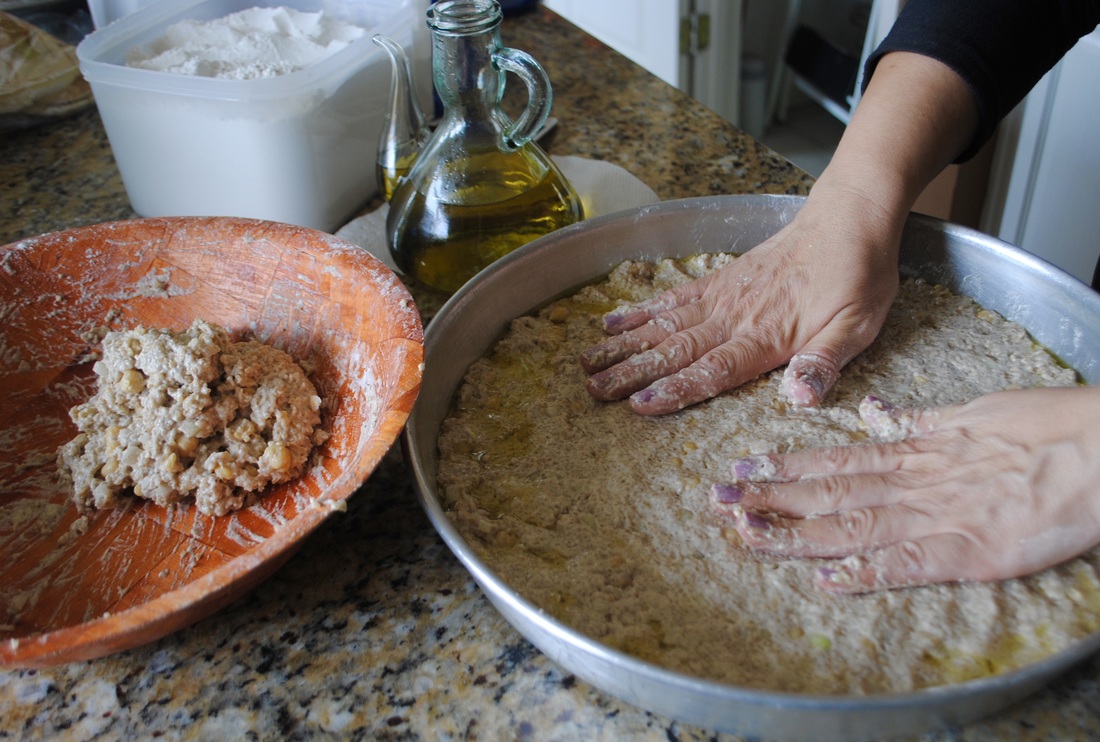 7. Once it is spread and cut, (we cut it into triangles like a pizza) pour 5 tablespoons of olive oil over it) *you can use less oil but your kibbeh may be more dry. 8. Broil on high in the oven for 15 minutes on the top shelf, and after 15 minutes move the pan to the bottom shelf at 450 degrees for 10 minutes 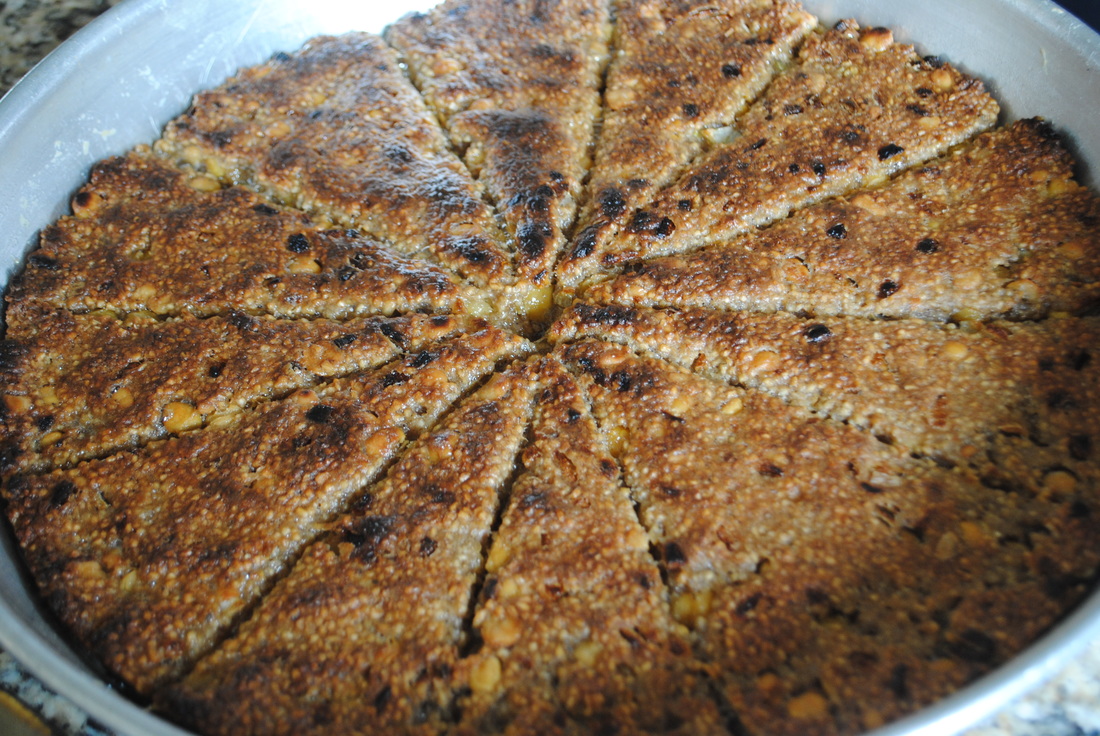 Finished 9. If you are frying it: wet your hands with cold water and make it into patties (as thick or thin as you’d like. The thinner it is the crunchier it'll be) 10. Warm up a skillet with olive oil and add your patties to it. Fry each side for up to 3 minutes, or until golden brown , and add to a plate covered with a paper towel 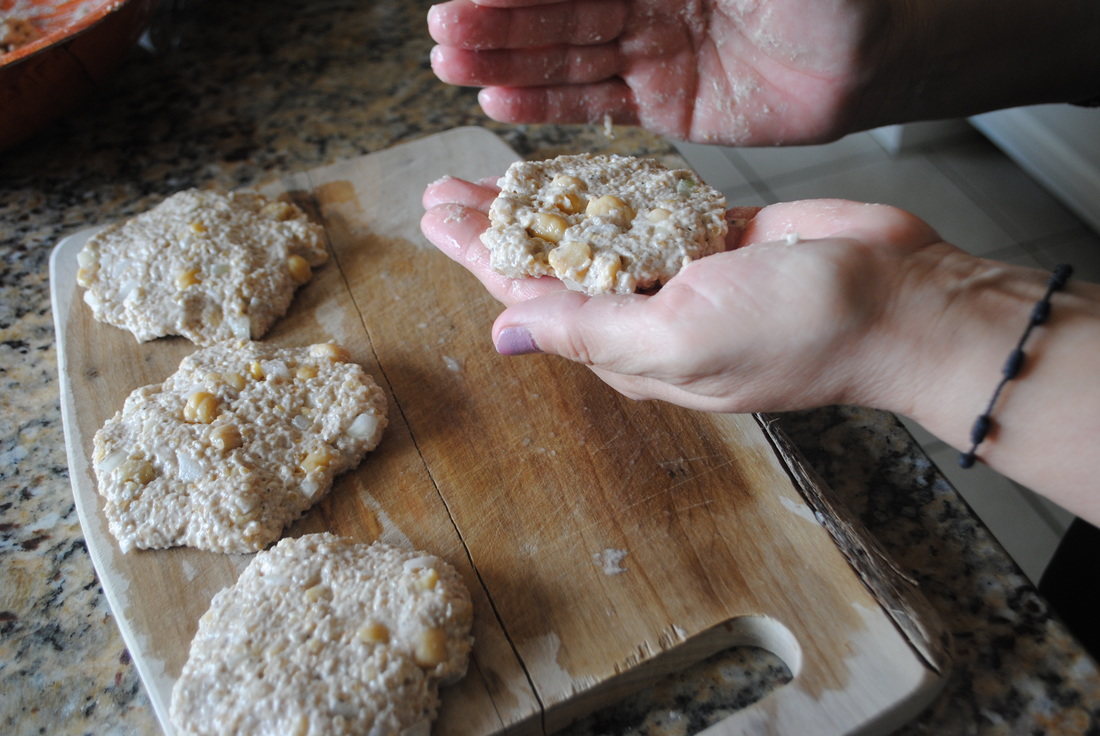 YUM! Enjoy :)  Happy Saturday to you all! I'm excited for another weekend of good food and relaxation! Today I wanted to share with you all last night's dinner: 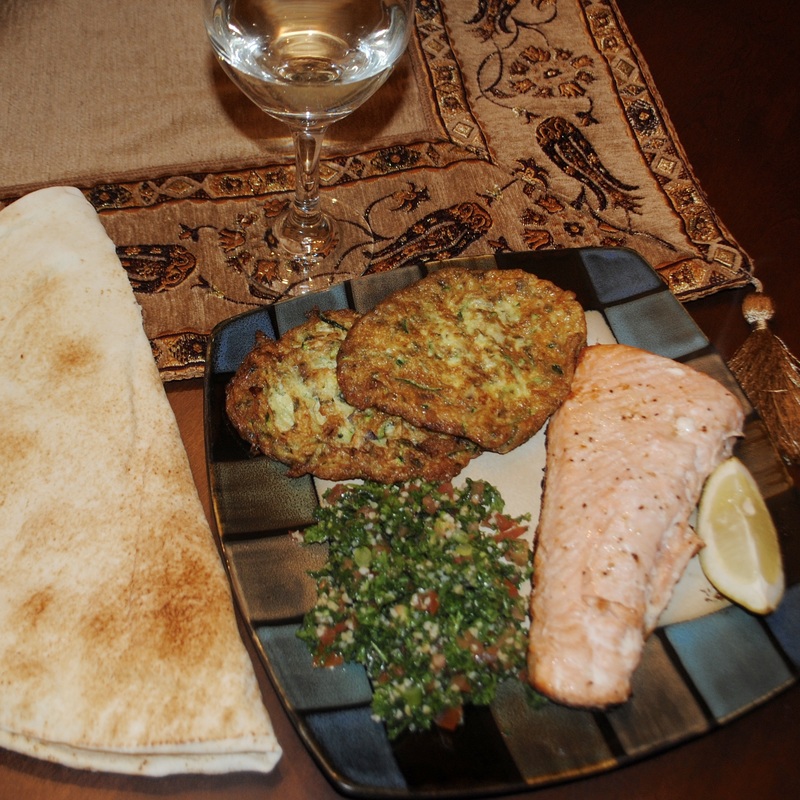 We had salmon, leftover Tabouli, and Ejjeh. During Lent, a lot of people in Lebanon will become vegetarian. For those who are unable to give up meat completely, they aim to cut meat out of their diet on Fridays. Fish is a favorite for those choosing to not eat meat and that inspired us to cook up some salmon. Ejjeh, a zucchini omelet, is an easy and quick side dish to put together. We also had some leftover tabouli in the refrigerator that we wanted to finish up. And of course, pita bread was a must for me to have with my ejjeh! 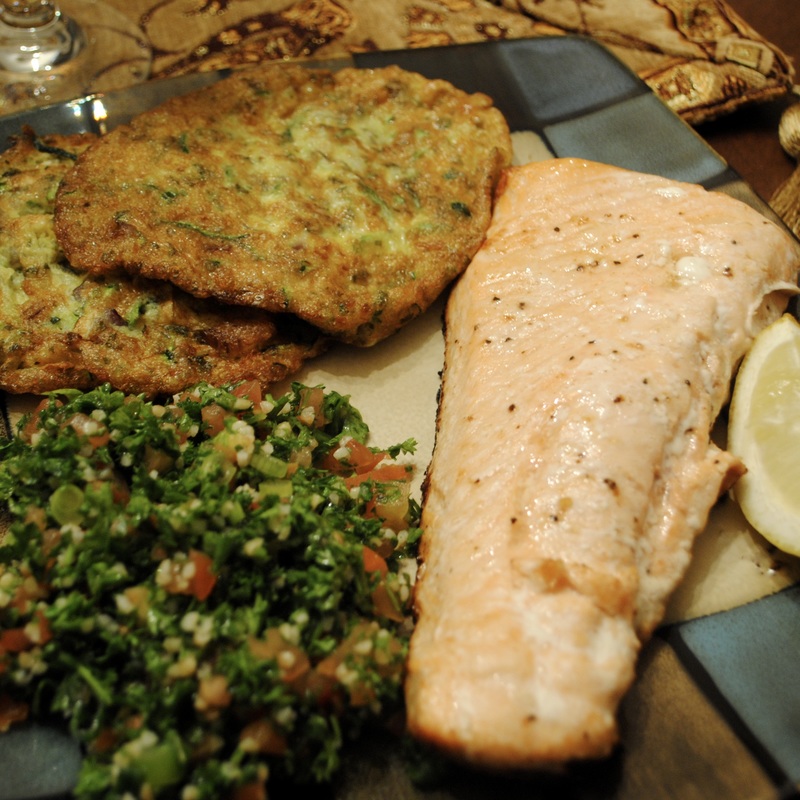  Happy Valentine's Day to all of our friends & fellow Lebanese foodies! We hope you have a day filled with love, happiness, and delicious food! We celebrated by making some Riz Ala' Dajaj (Chicken and Rice) topped with extra toasted nuts and served in our new favorite heart-shaped bowl! 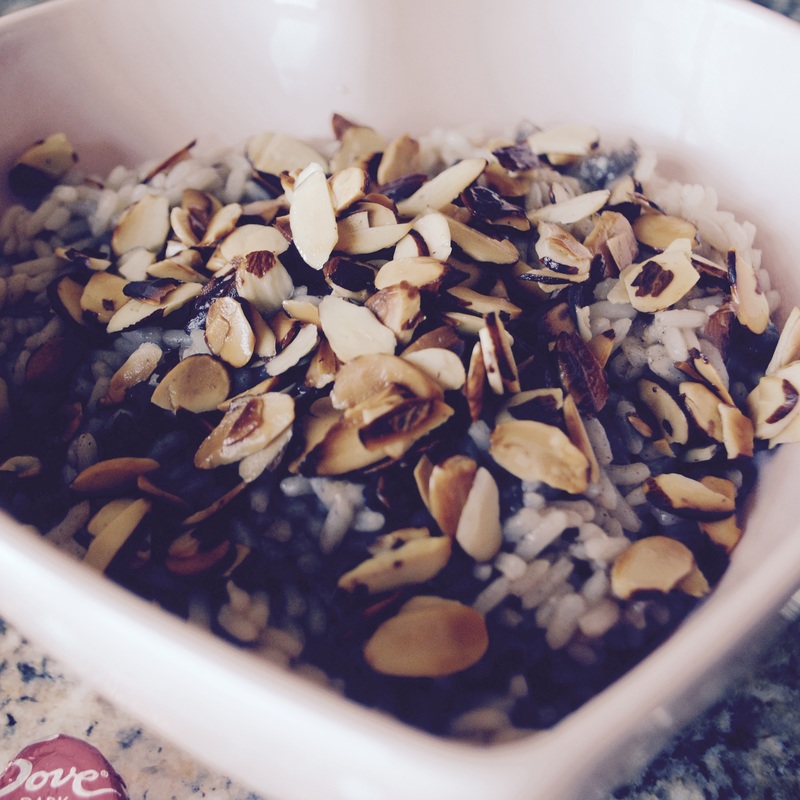 What better way to celebrate a holiday than with food? :)
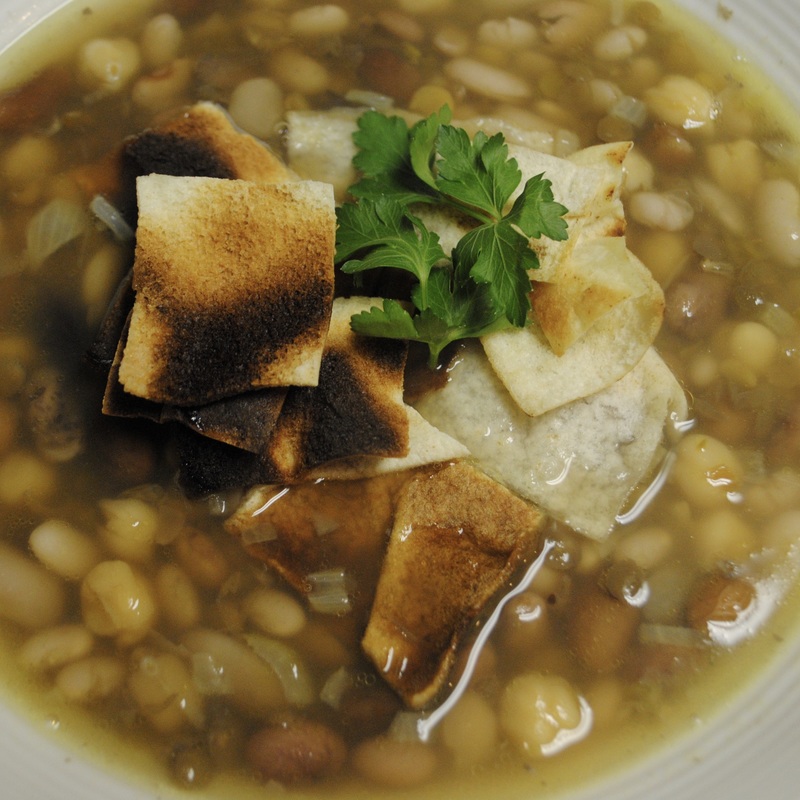 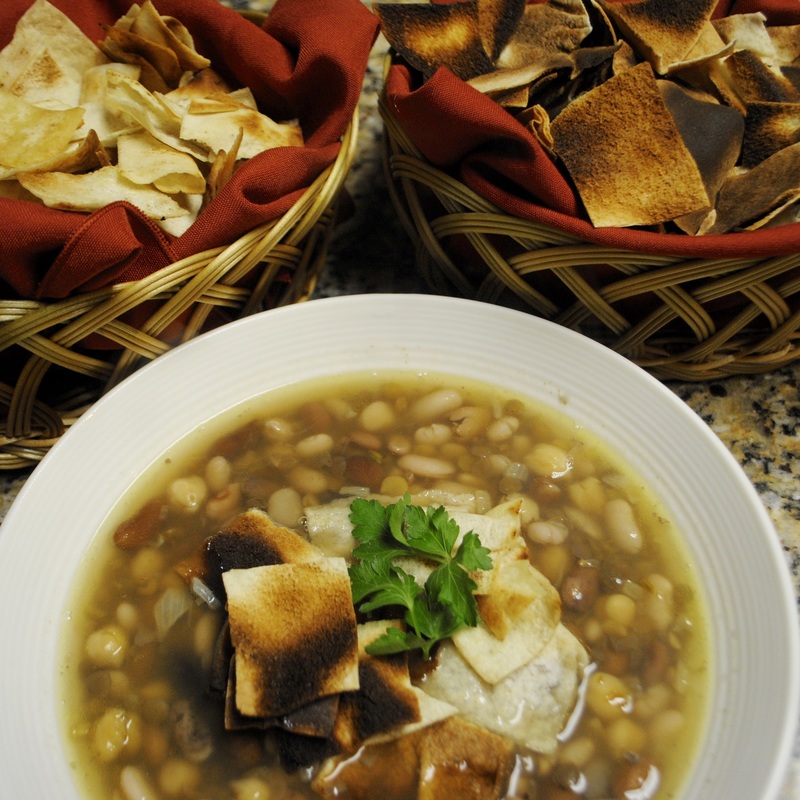 Makhlouta is a delicious Lebanese soup that consists of many different kinds of beans. "Makhlouta" means "mixed" in Arabic. Traditionally, this soup is eaten during Lent in Lebanon because it has no meat. It's very filling, delicious, and it hits the spot during the cold months! You can use whatever types of beans you'd like. To make things easier, Eva just uses a bag of mixed beans. Of course, her elder Lebanese relatives had much more complicated methods to making Makhlouta. When cooking Lebanese food, Eva's motto is to keep making traditional Lebanese dishes by adding shortcuts to the recipes to keep up with her busy lifestyle. No matter what kind of beans you use or how you prepare them, this dish will turn out delicious! Ingredients:
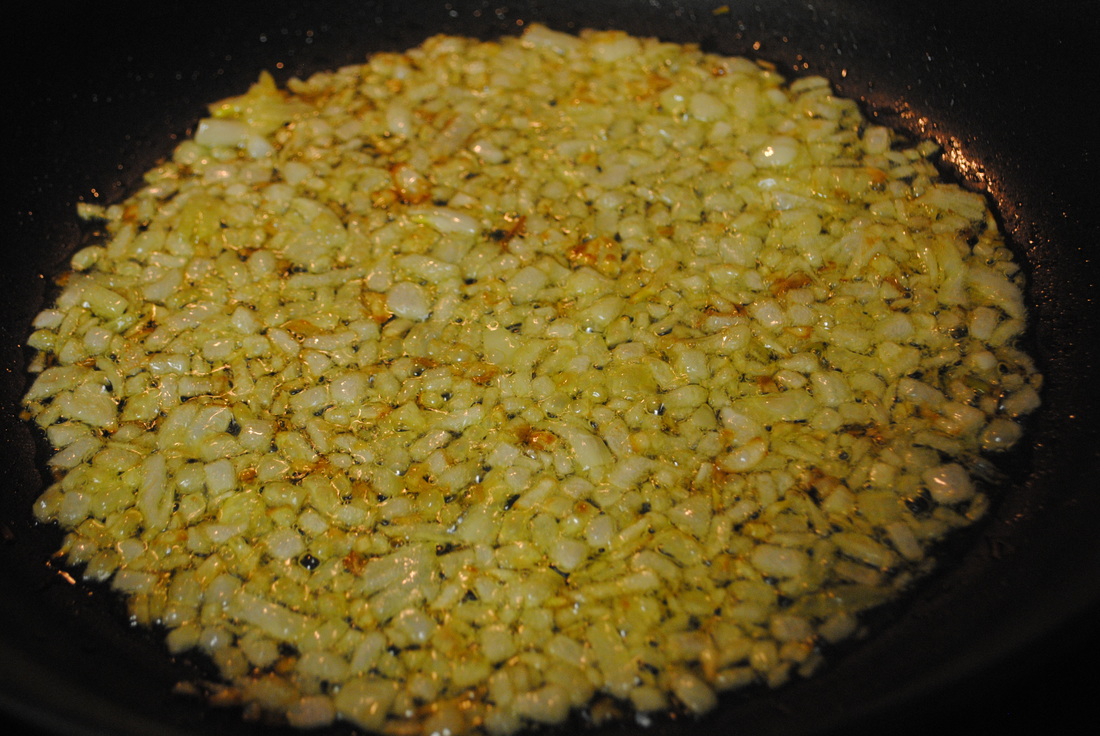
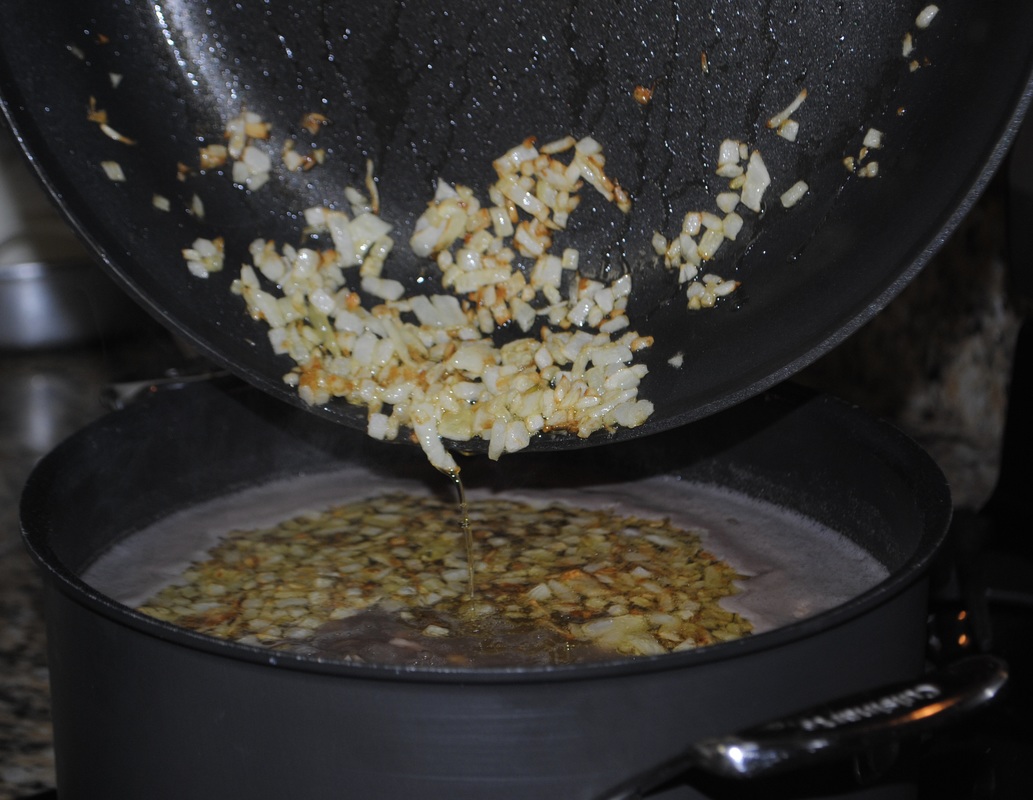
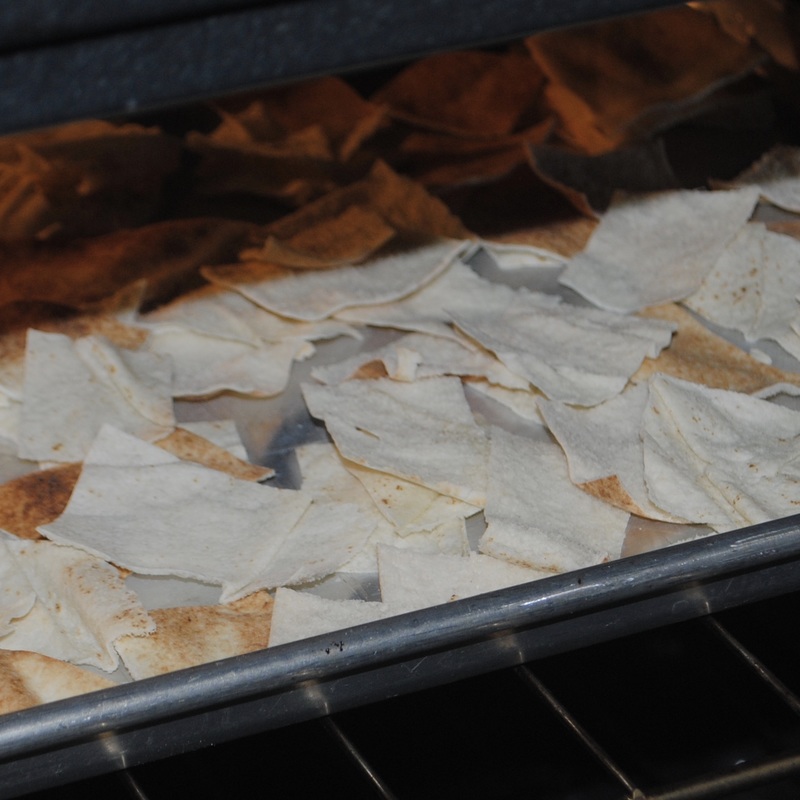
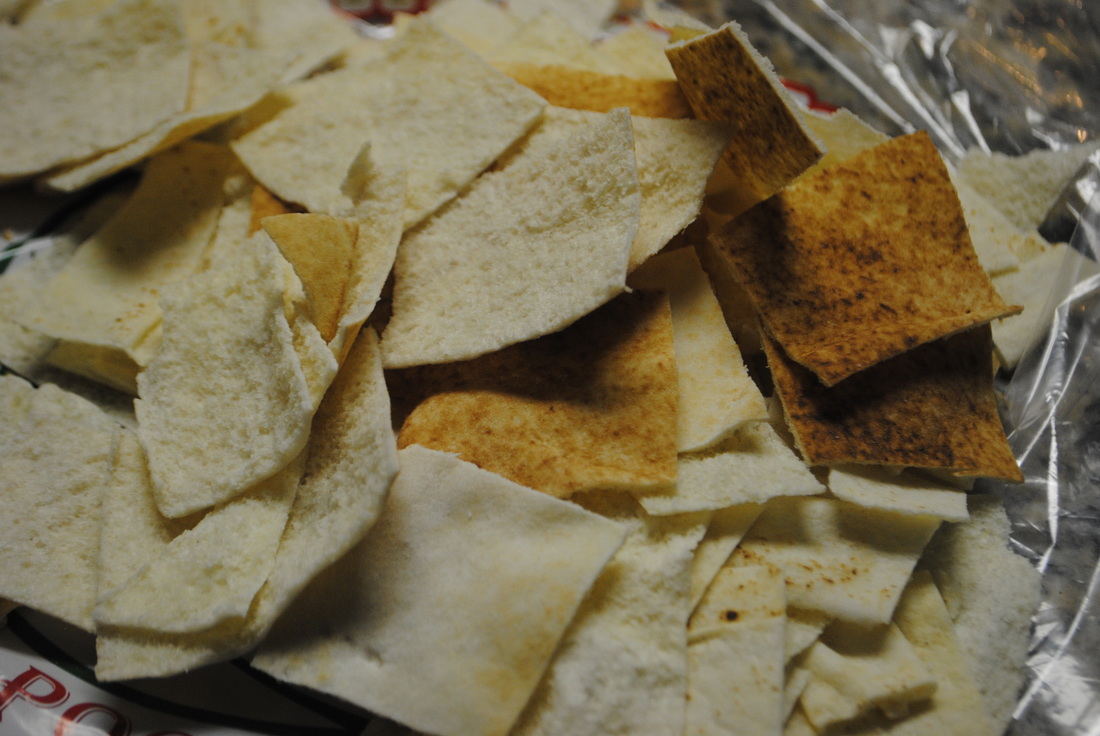
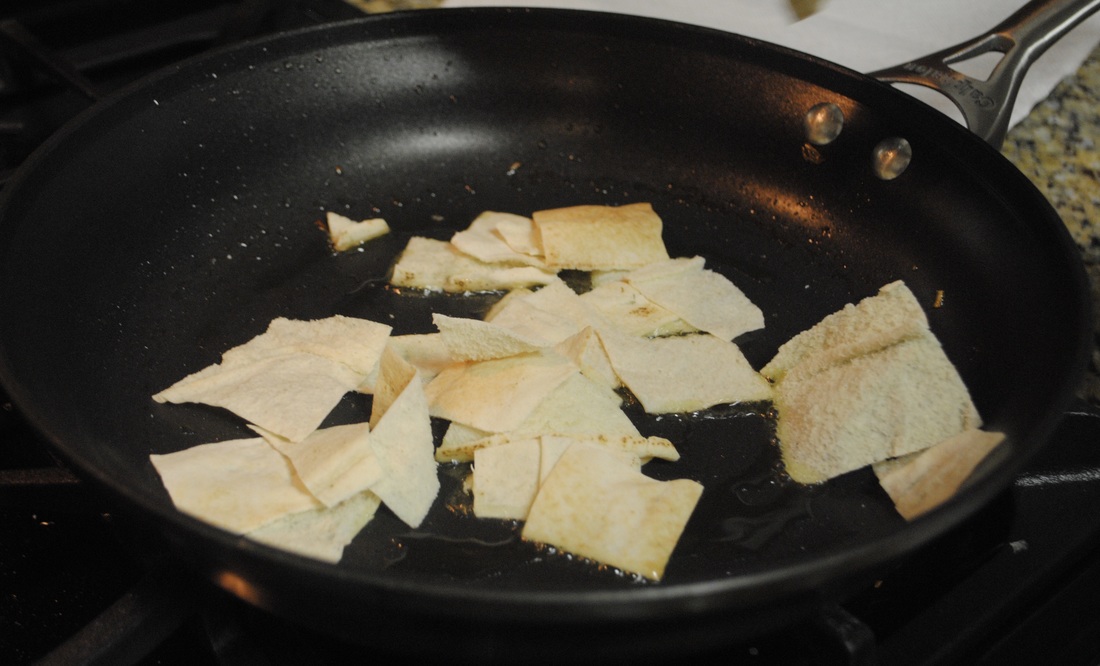
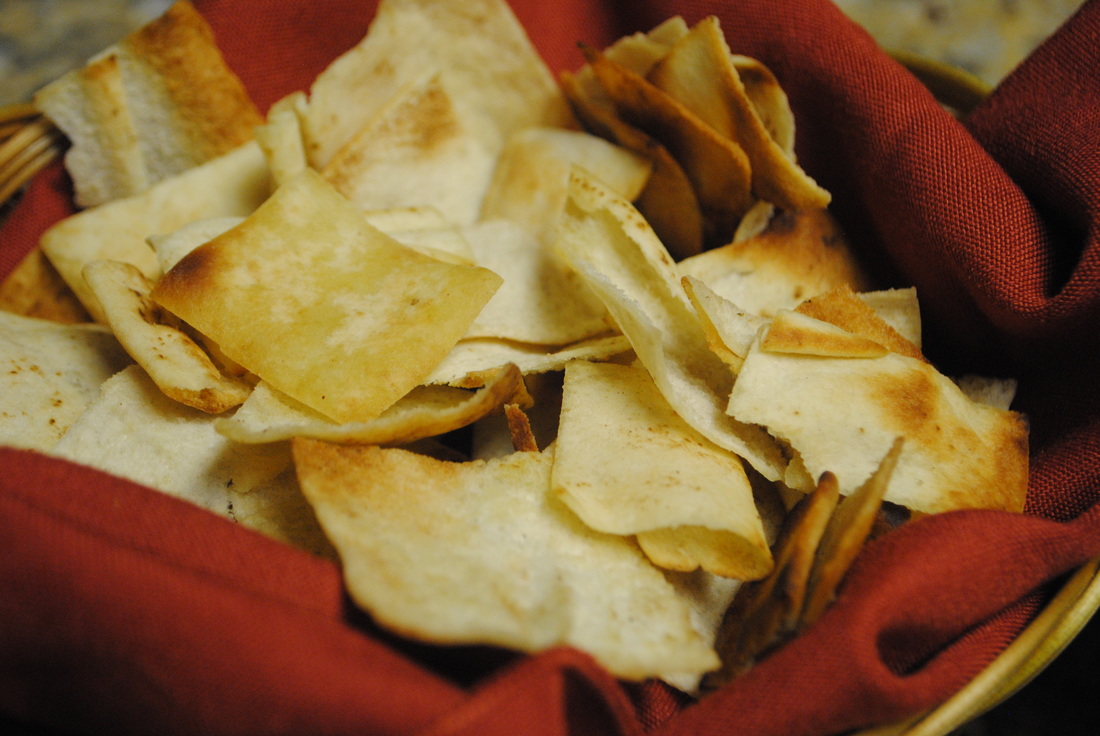
Instructions: 1. Soak your beans in water overnight OR cook them in a crock pot on low for at least 8 hours 2. After they are soaked or cooked, move your beans to a large pot, add water (amount of water depends on how much broth you prefer) Eva adds enough to make it soupy 3. On medium high heat, add 3 teaspoons of salt (to taste) and 1/2 teaspoon of pepper and stir into your beans. Bring your beans to a boil 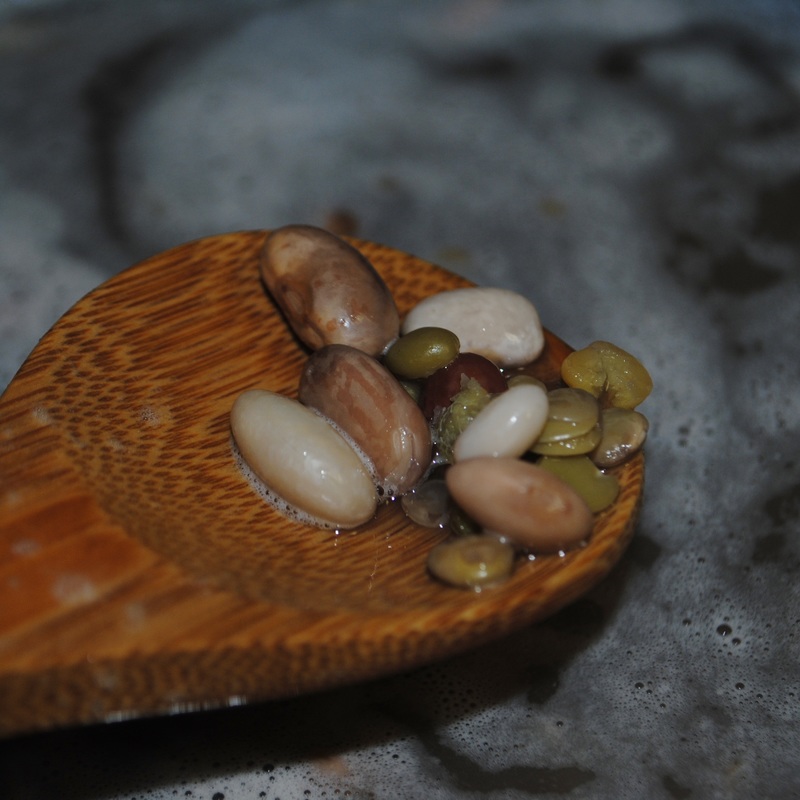 4. In the meantime, dice your onion 5. In a frying pan, add 5 tablespoons of olive oil and sauté onions until golden brown, be sure to keep stirring the onions so they don’t burn in one spot and are evenly sautéed 6. Once your beans begin to boil, lower your stove to medium heat and add your can of chickpeas 7. Once your onions are golden brown, pour them and the olive oil in your pot of beans and let it simmer for 15 minutes 8. After 15 minutes of simmering, turn stove off and let it rest for a couple of minutes before serving 9. This soup is eaten with toasted or fried pita. If you choose to fry your pita: using the same pan that you used to sautee your onions, add another tablespoon or so of olive oil, let it heat up, and add cut up pita to the pan. Stir the pita in the oil and once they are toasted/light brown remove and add to a plate with a paper towel The healthier alternative is to toast your pita. To toast it, cut it up into small pieces, add it to a baking sheet, and bake at 350 degrees for 3-5 minutes (keep watch so they don't burn). You can also use a toaster if you're toasting smaller amounts Add your fried or toasted pita bread to your soup & enjoy! :) 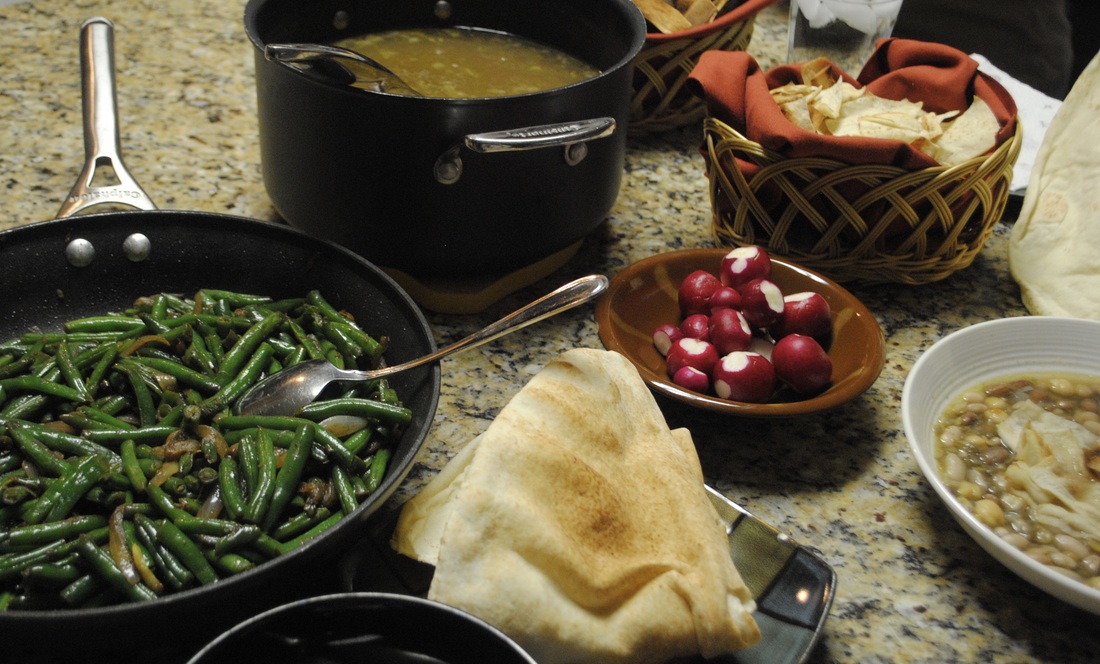 Find the recipe for Loubieh bil Zeit (shown in this picture) here!
|