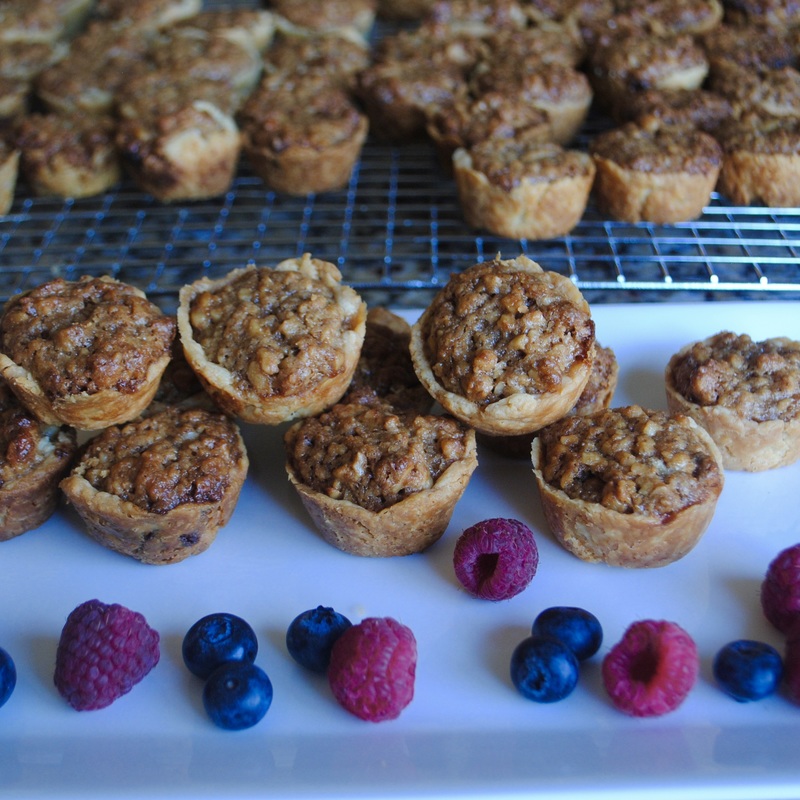
 Years ago Eva's mother got the recipe for Walnut Cupcakes from an elderly Egyptian woman and always made them for her family. Eva still has the recipe and loves making these delicious sweets around the holidays to add to her cookie platters. They are not exactly cupcakes, they just have a cupcake shape! These are made of a sweet walnut filling baked inside a cream cheese dough... Yum! Since they are mini, it's super easy to eat a bunch at once! Depending on your dough, Eva's recipe makes approximately 60 mini cupcakes. Feel free to cut the amounts of each ingredients in half or however you choose to make less. Eva likes to make cookie platters for her family and friends so she is used to making a lot. Preparing these walnut cupcakes before baking takes about an hour, and each pan takes about 20 minutes to bake. So be sure to try these on a day when you have time to rest (and snack) afterwards! Ingredients: For Dough:
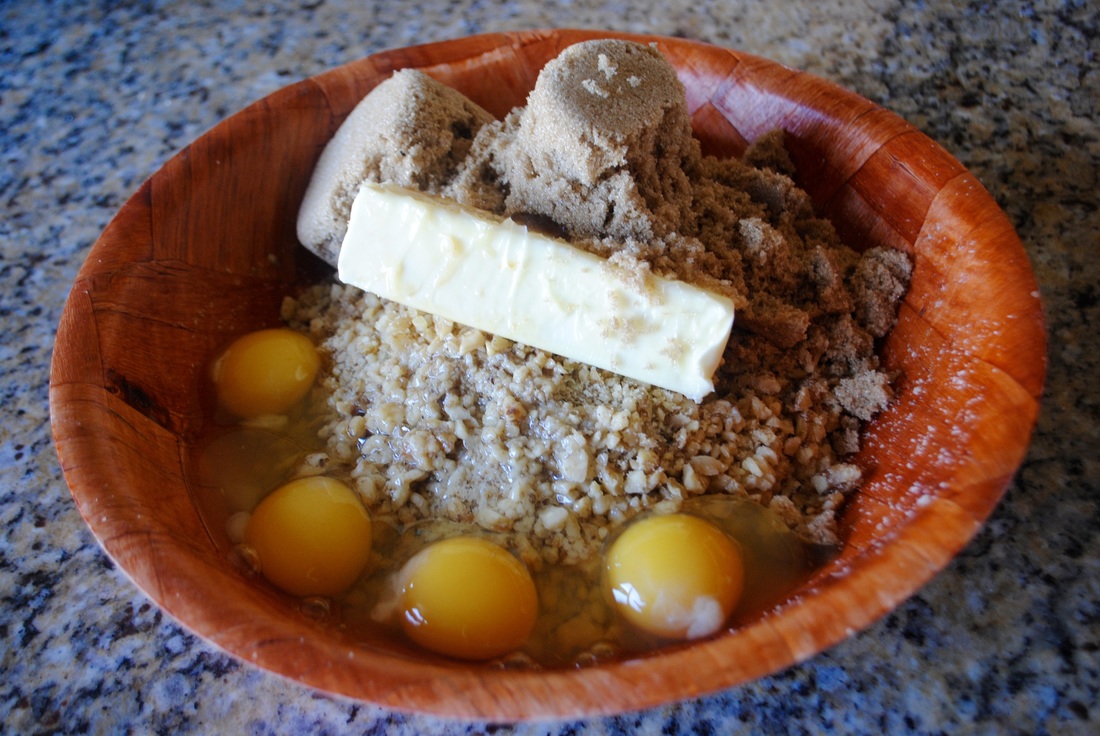
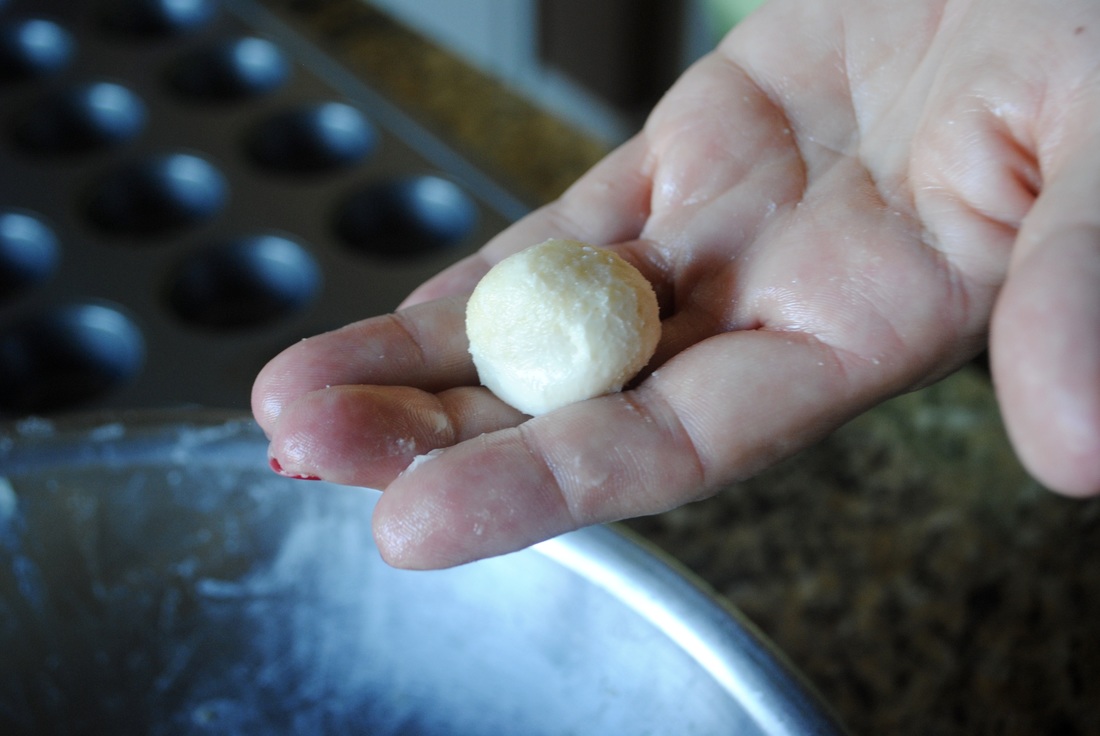
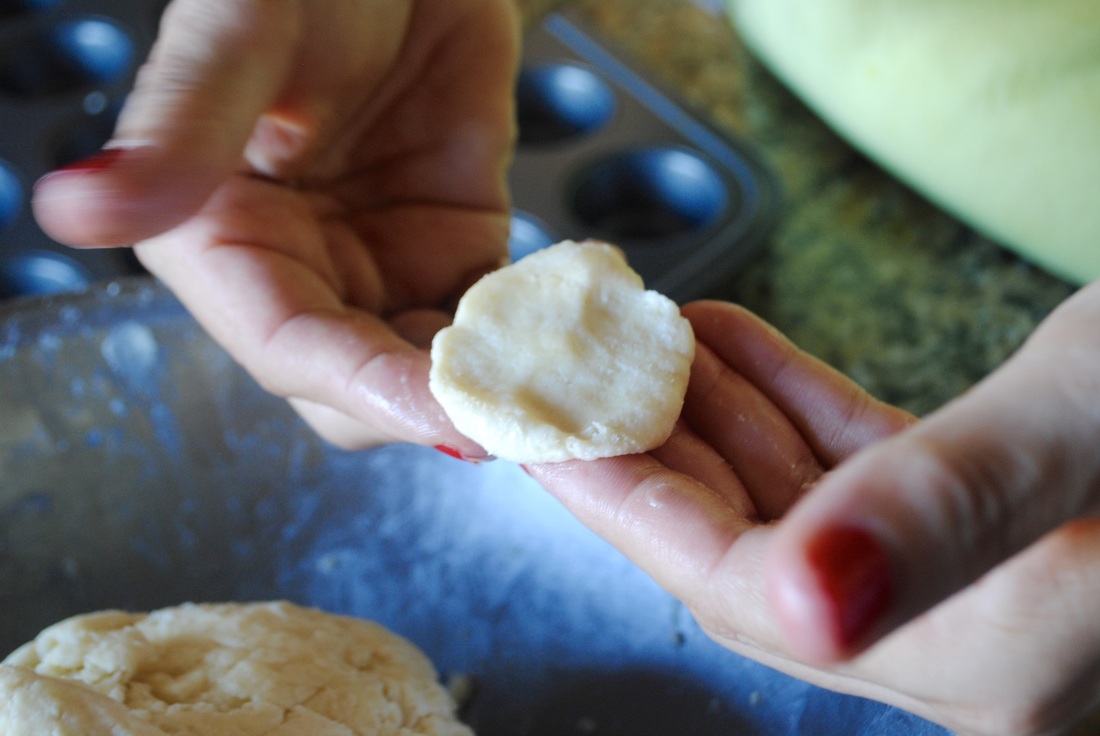
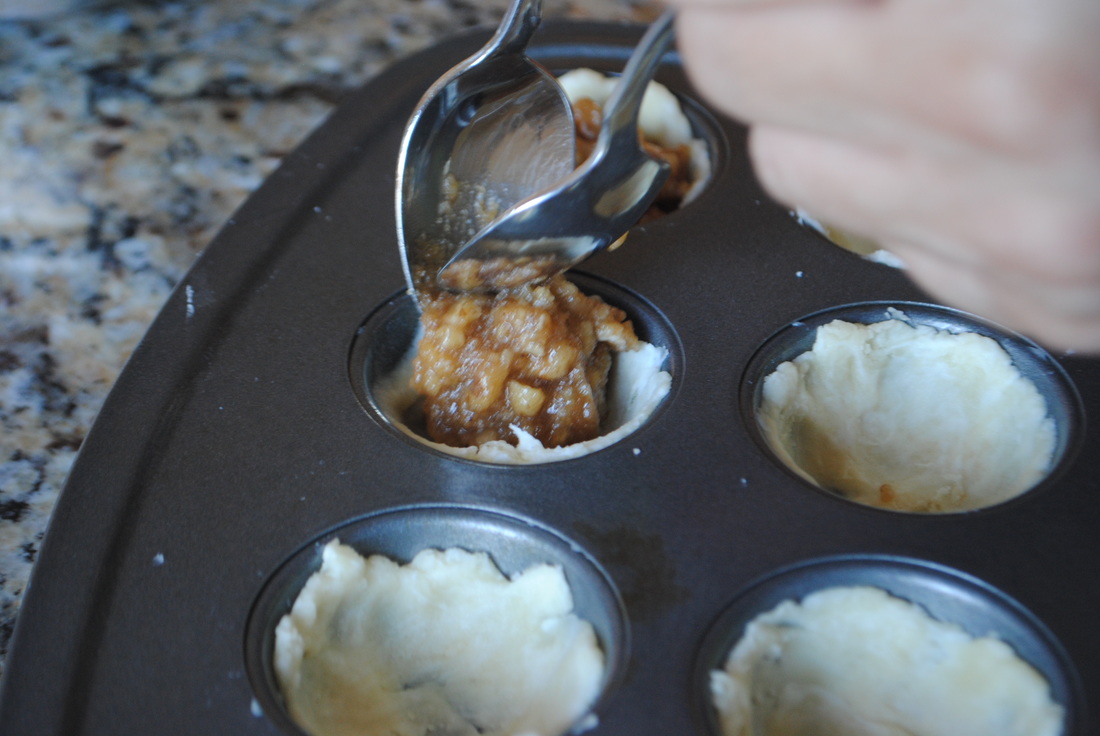
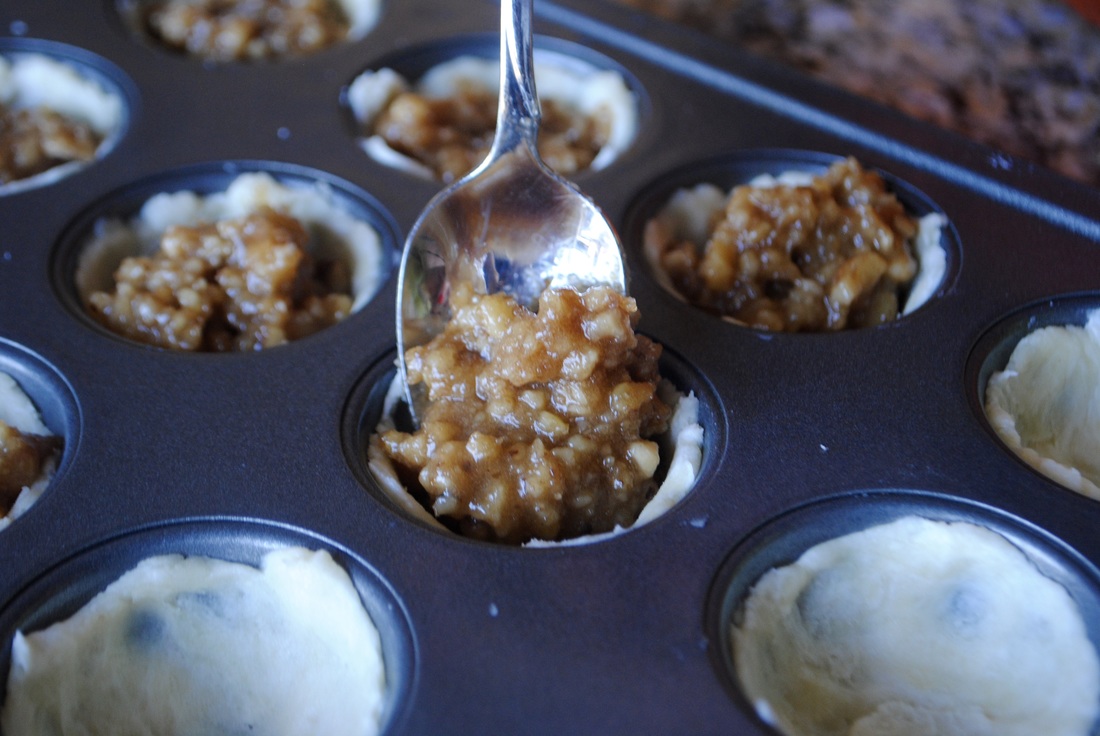
Instructions: 1. Mix cream cheese, butter, and flour in a large bowl to form into a large ball of dough 2. Once dough ball is made, put it in your fridge to thicken it and to make it easier to work with for about 15-20 minutes (can be prepared the night before to save time) 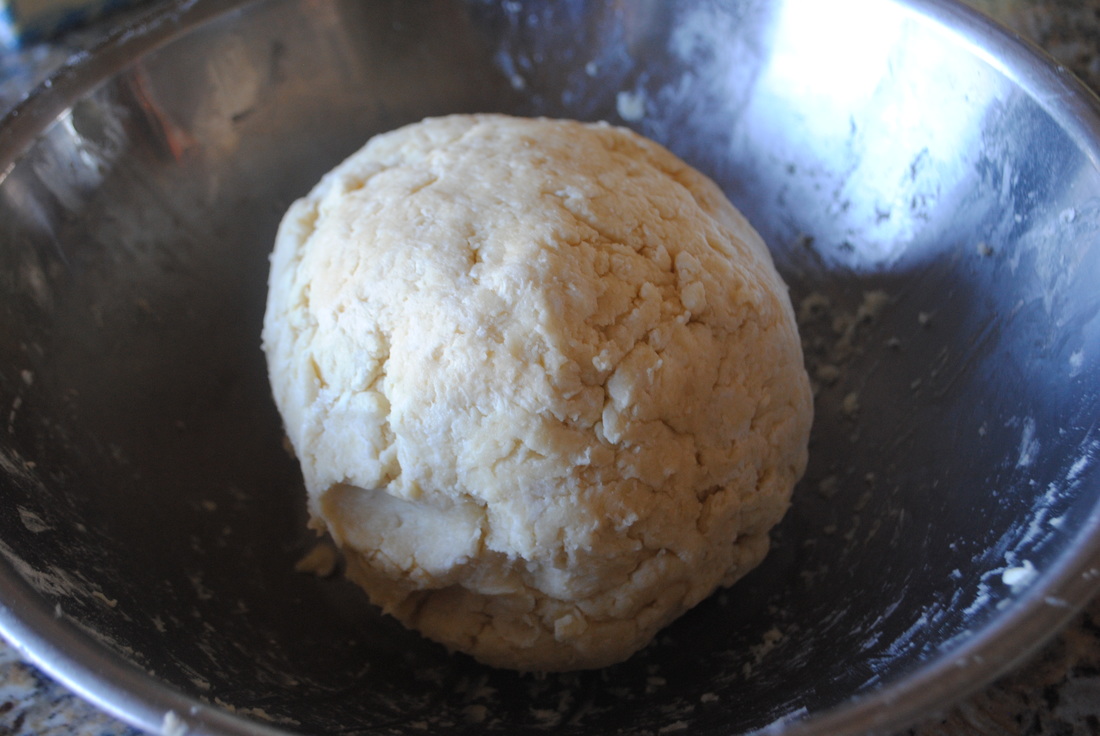 3. Mix walnuts, butter, vanilla, brown sugar, and 2 eggs in a bowl (4 eggs were used in this picture because Eva made 2 batches) 4. Once mixing is done, preheat oven to 350 degrees 5. Mold your dough mix into small balls, then flatten, and place in each cupcake holder, covering the whole space 6. Add a teaspoon into each cupcake holder (we use 2 spoons to add in the filling - one spoon to scoop and one to scrape) you can add more or less 7. Bake on your bottom rack for 20-25 minutes until golden brown, and on the top rack for 5 minutes 8. Let rest for a minute and with a sharp knife gently remove the cupcakes to a cooling rack 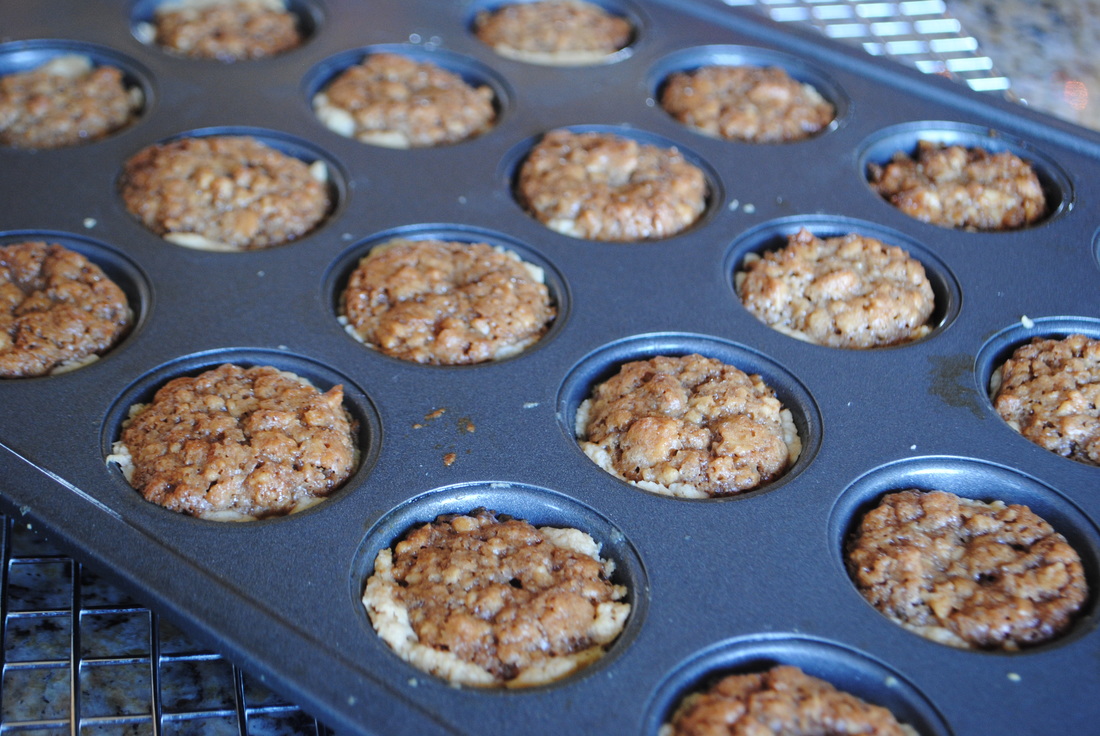 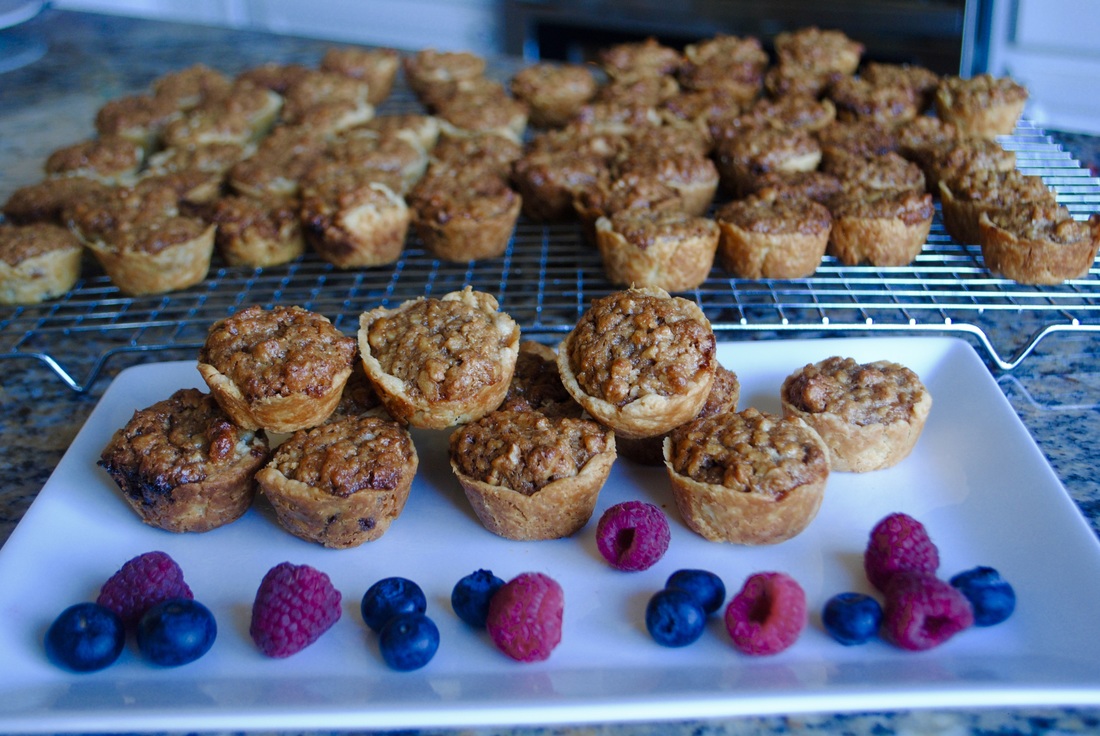 Enjoy!
2 Comments
 It's time to make your friends and family (& your sweet tooth) very happy with some delicious homemade baklawa (baklava)! Preparing baklawa is very time-consuming and requires patience (you will be working with many filo dough layers). While it took Eva about 50 minutes to prepare it before baking, keep in mind that it may take someone with less experience more time. However long it takes you, I promise the end result will be worth it! Eva has picked up the tradition of baking baklawa around the holidays along with her other Christmas cookies. Baklawa has a very rich and sweet taste, and of course is high in sugar and crisco, but there is absolutely nothing wrong with indulging in this yummy treat on special occasions. Of course you can always buy pre-made baklawa but I know from experience that homemade tastes so much better! Prep time: 50 minutes to an hour Cooking time: 45-50 minutes Ingredients:
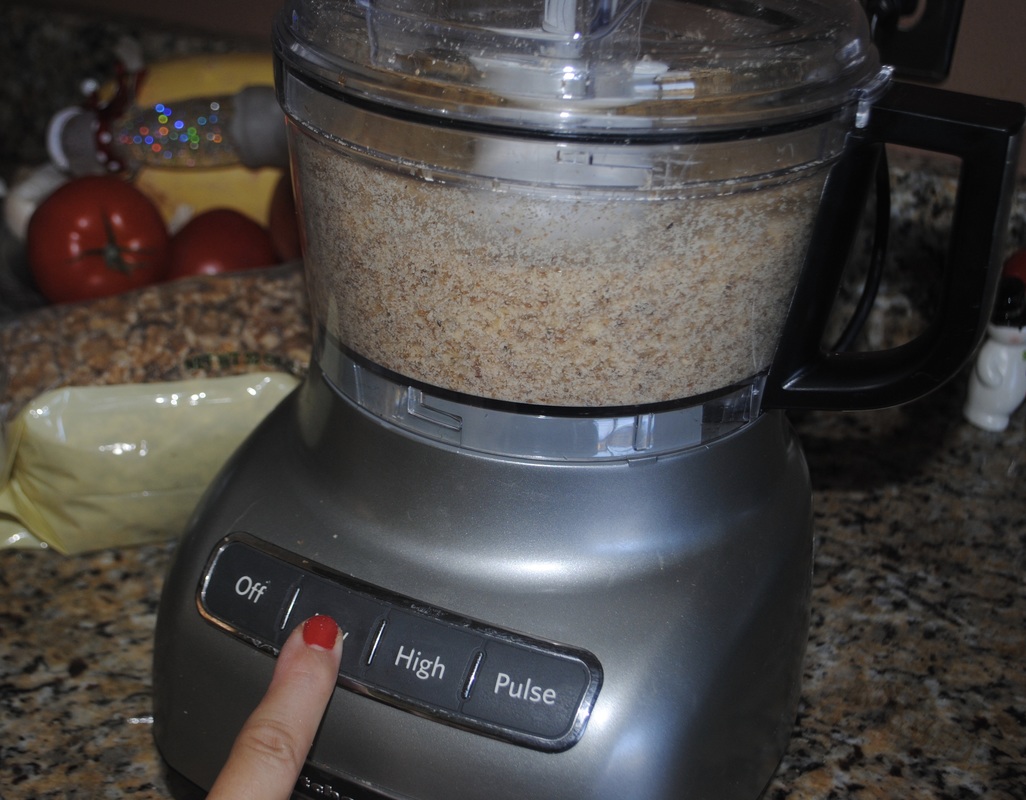
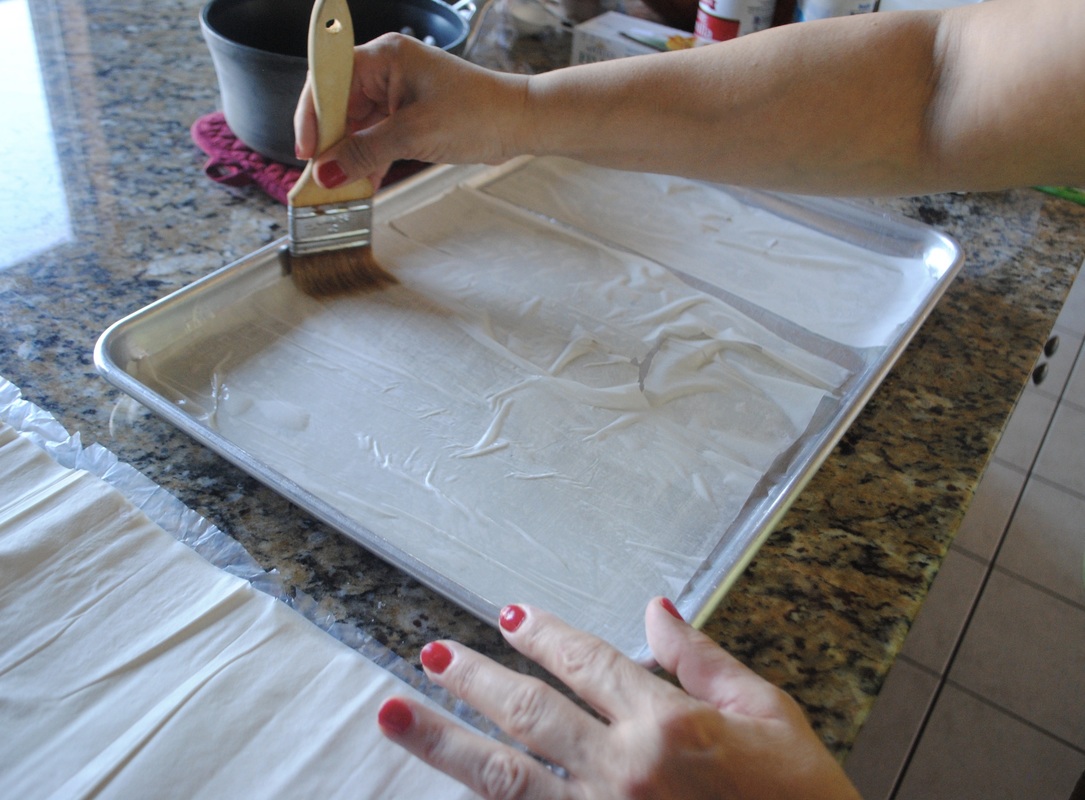
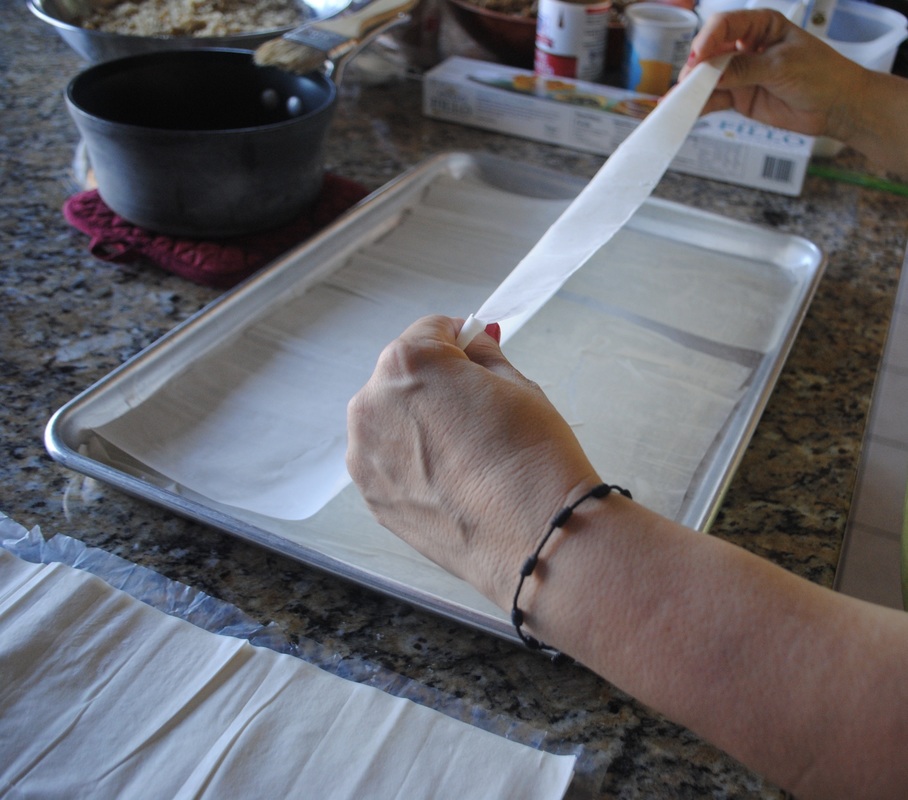
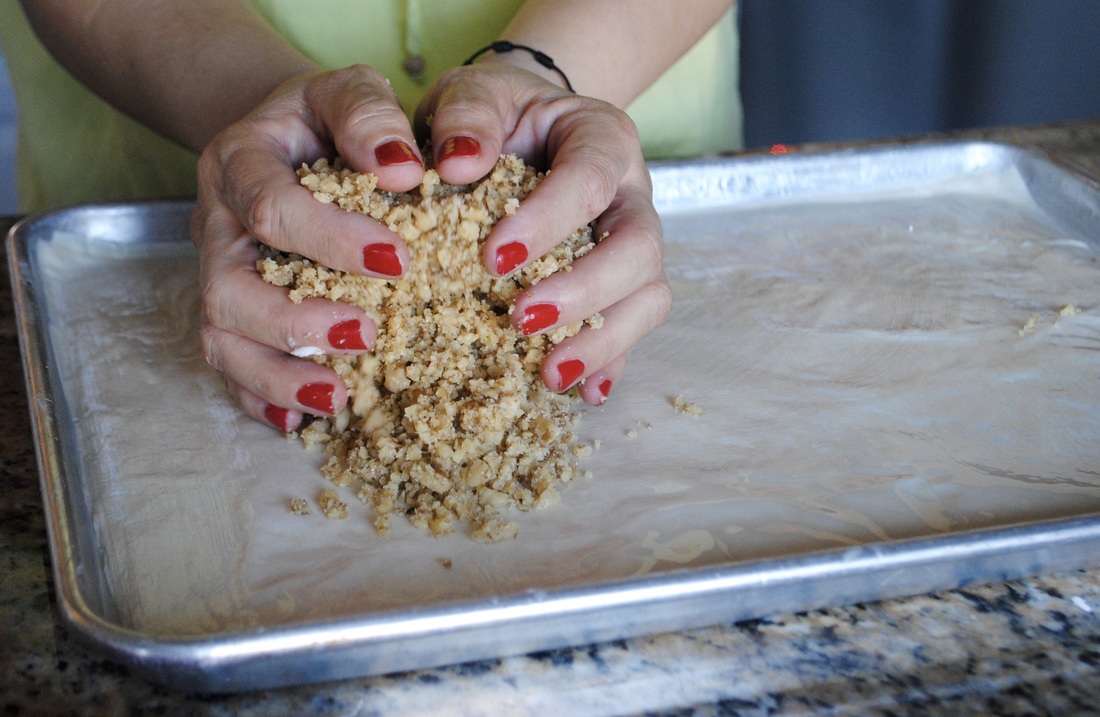
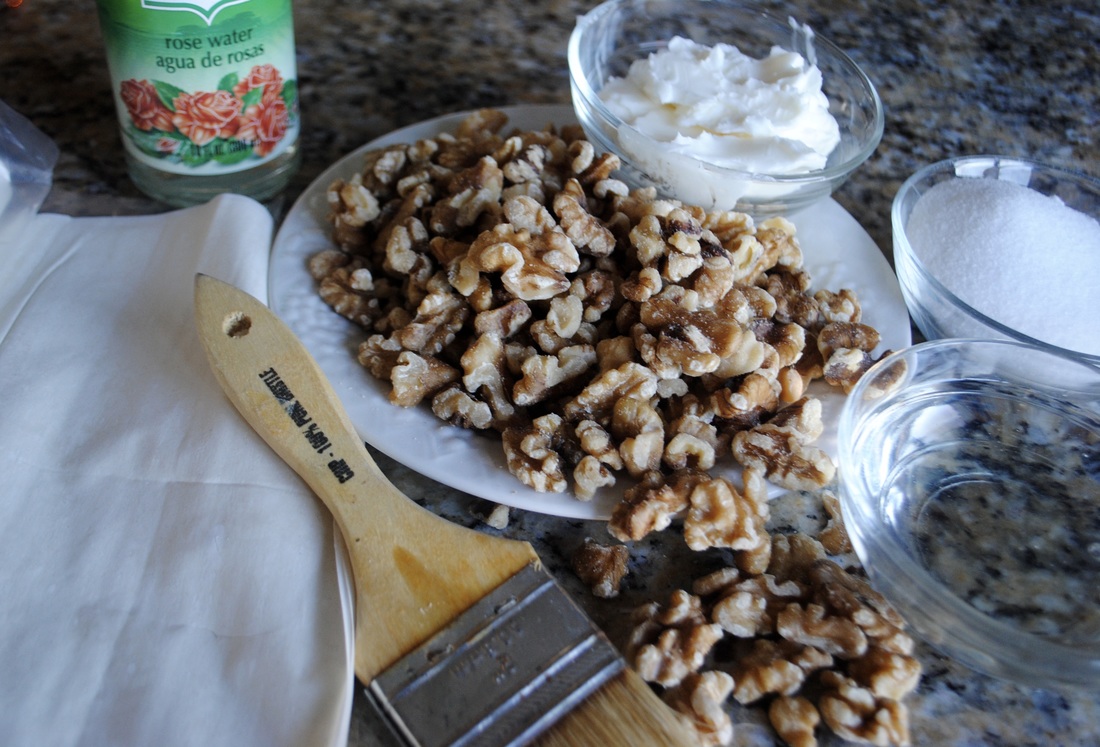 1. Melt crisco in a pot on the stove on medium heat. You can also melt it in the microwave with a measuring cup (your preference). 2. Put your walnuts in a food processor and grind until fine and add to a separate bowl (also your preference, you can have it so fine that it’s like dust, or you can have it crunchier). 3. Add a half a cup of sugar (used to bind walnuts together while baking) and 2 tablespoons of rose water to walnuts and mix it all together and set aside 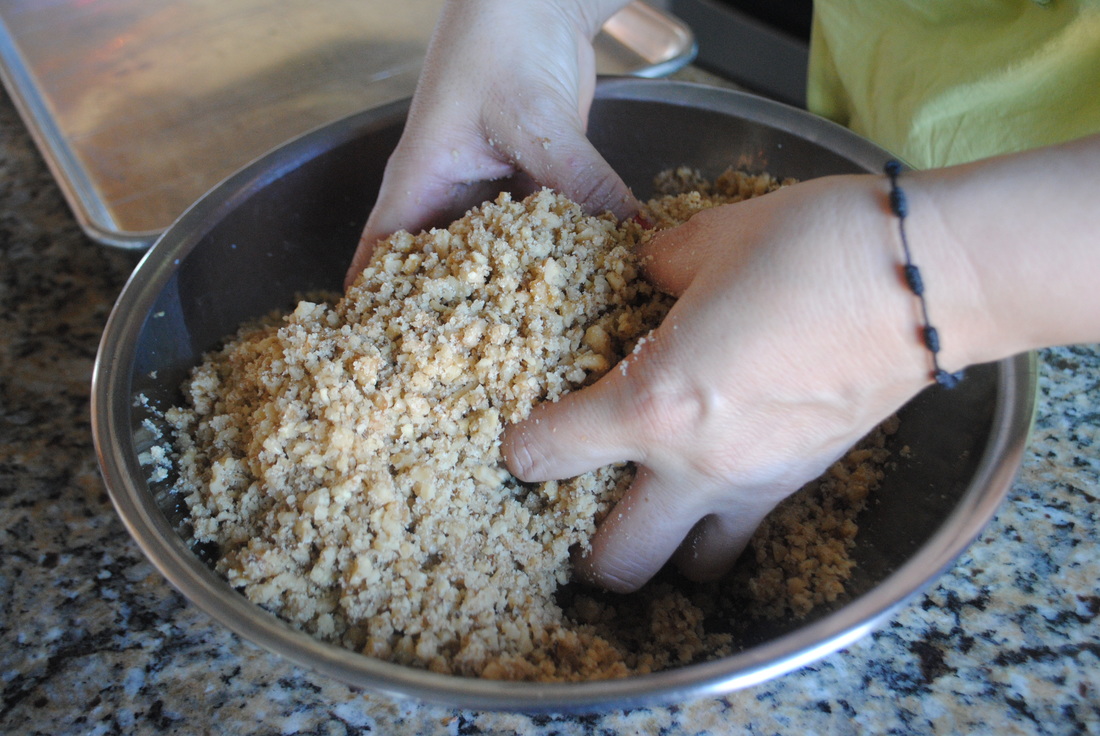 4. For your bottom layer of baklava:
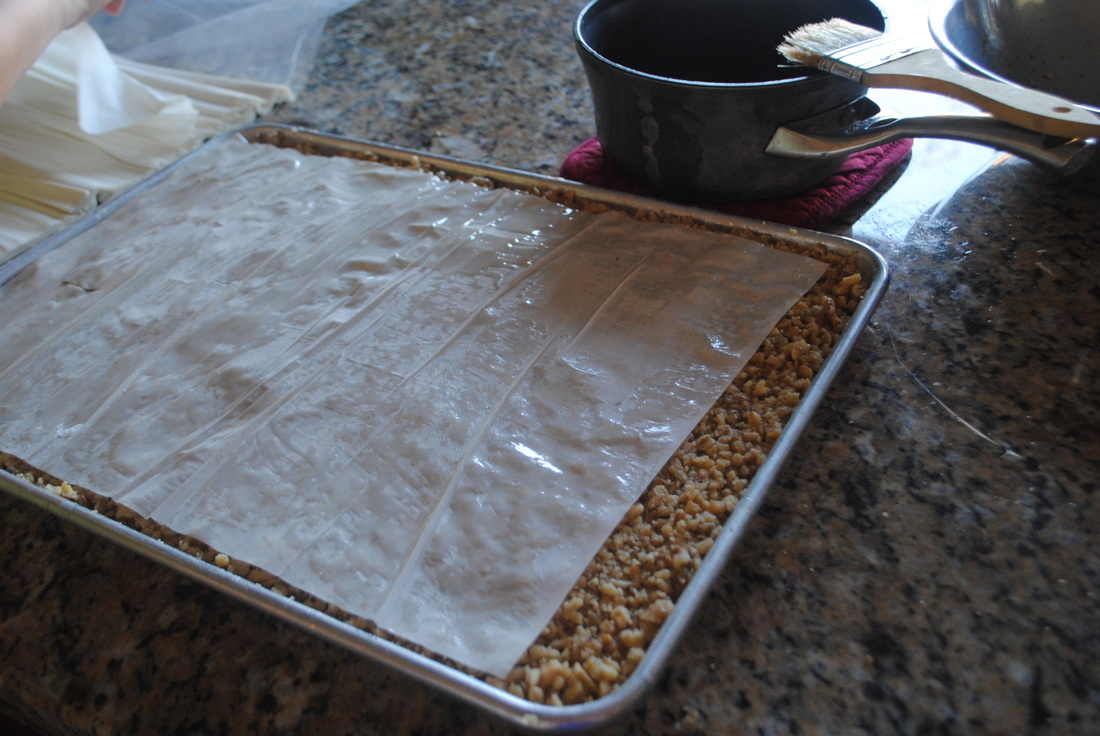
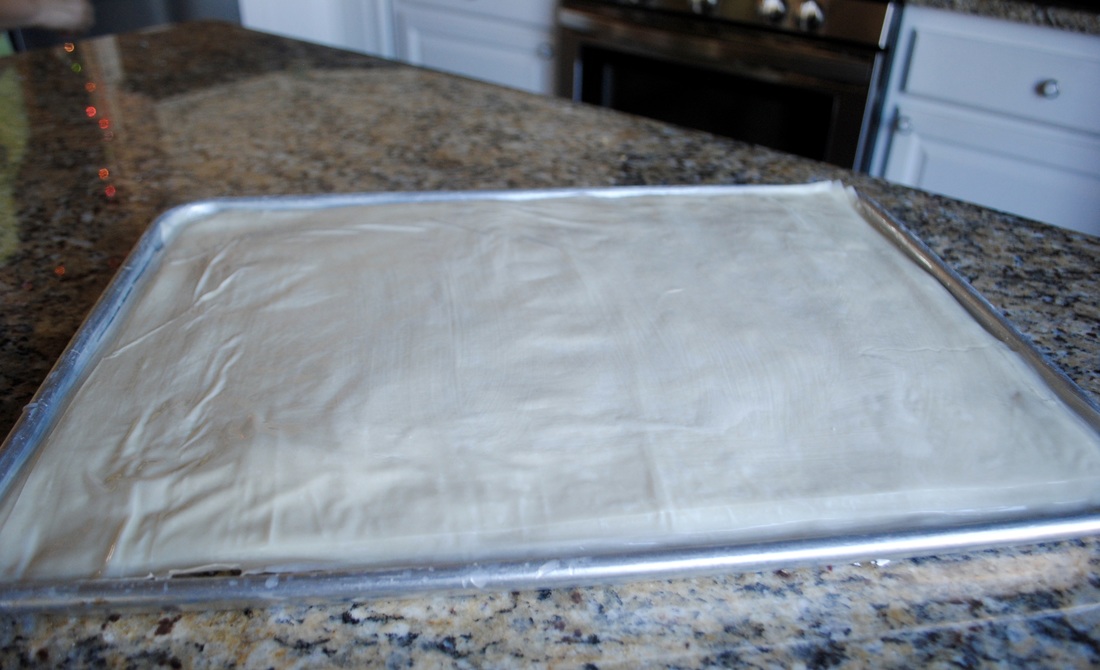
5. Add walnut mixture and spread evenly onto filo dough layer (amount added is your preference). We used all of our mixture in this size baking sheet. Pat down the mix with your hands or a spatula 6. Dip your brush into crisco and drizzle it over walnuts to give it a base for your top level 7. Preheat oven to 425 degrees 8. Add a sheet of filo dough over mixture.
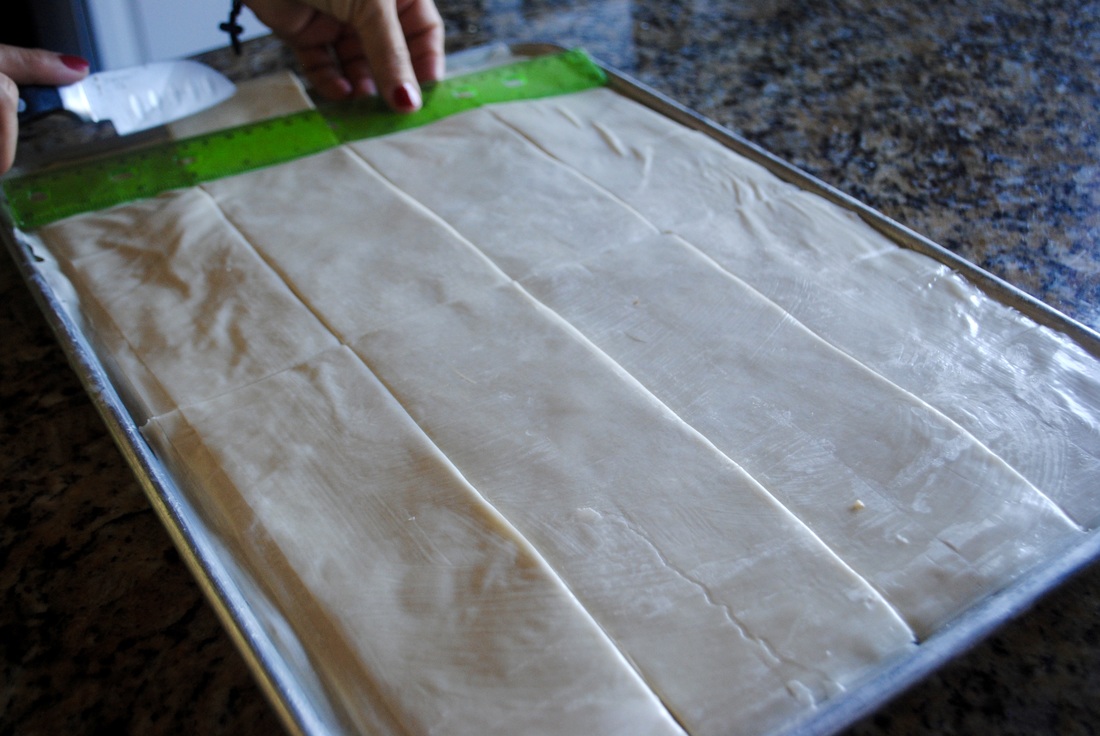
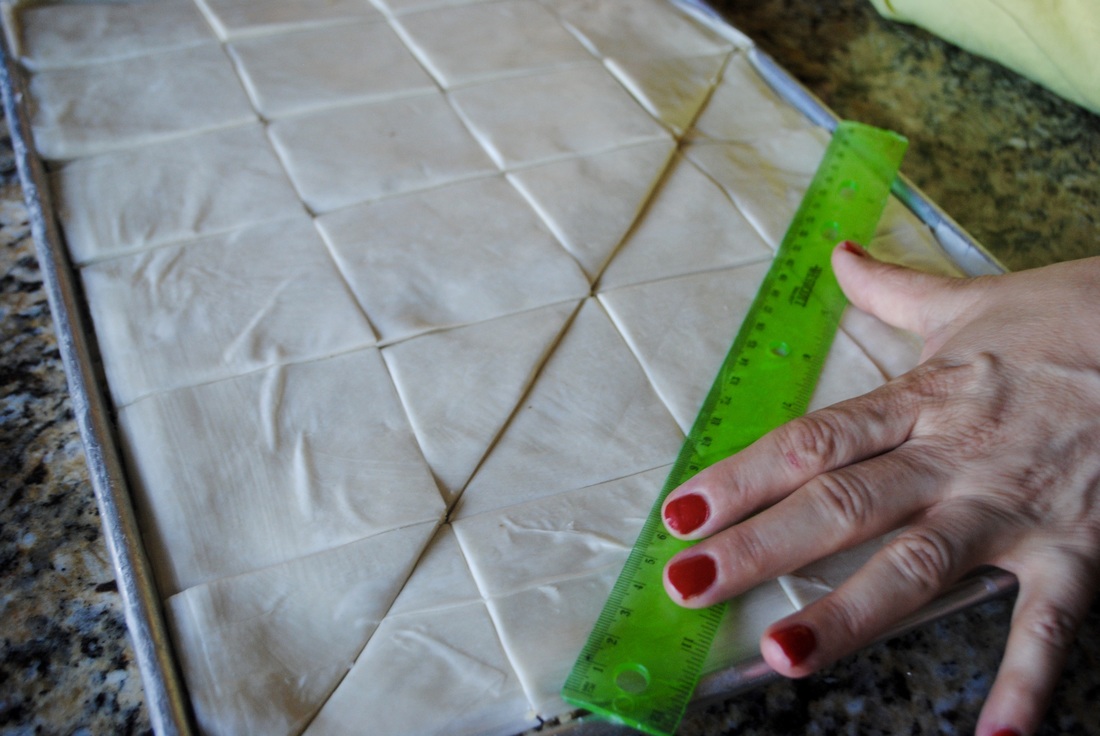
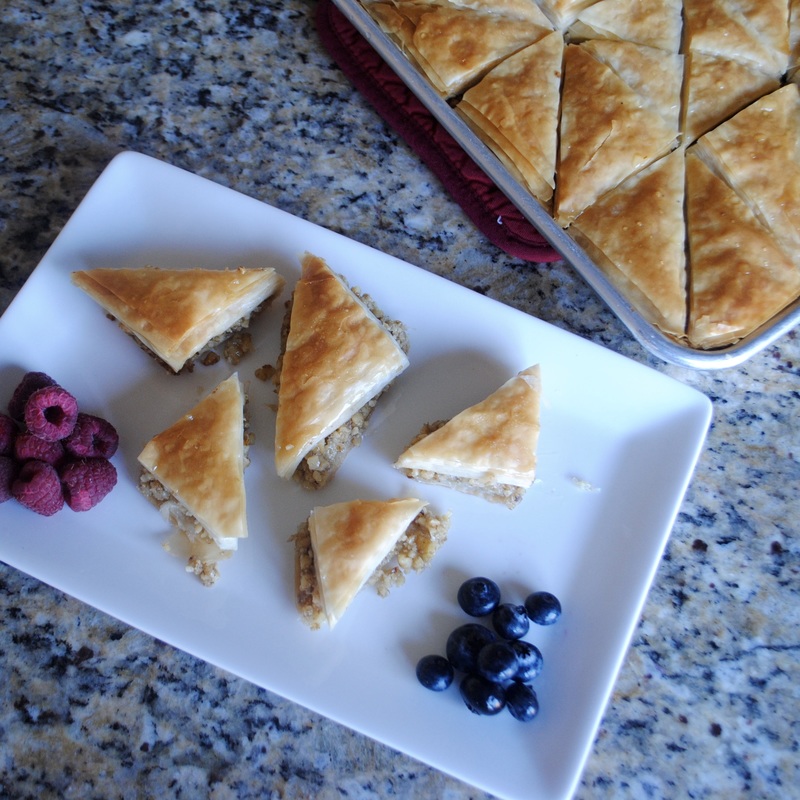
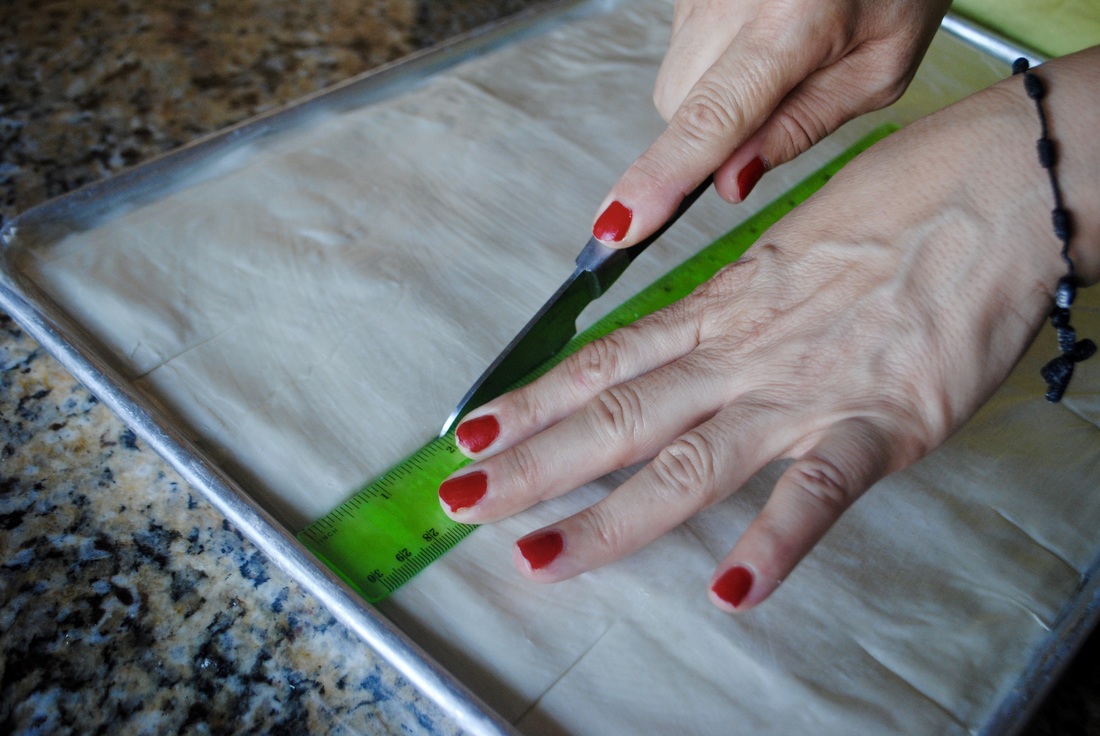
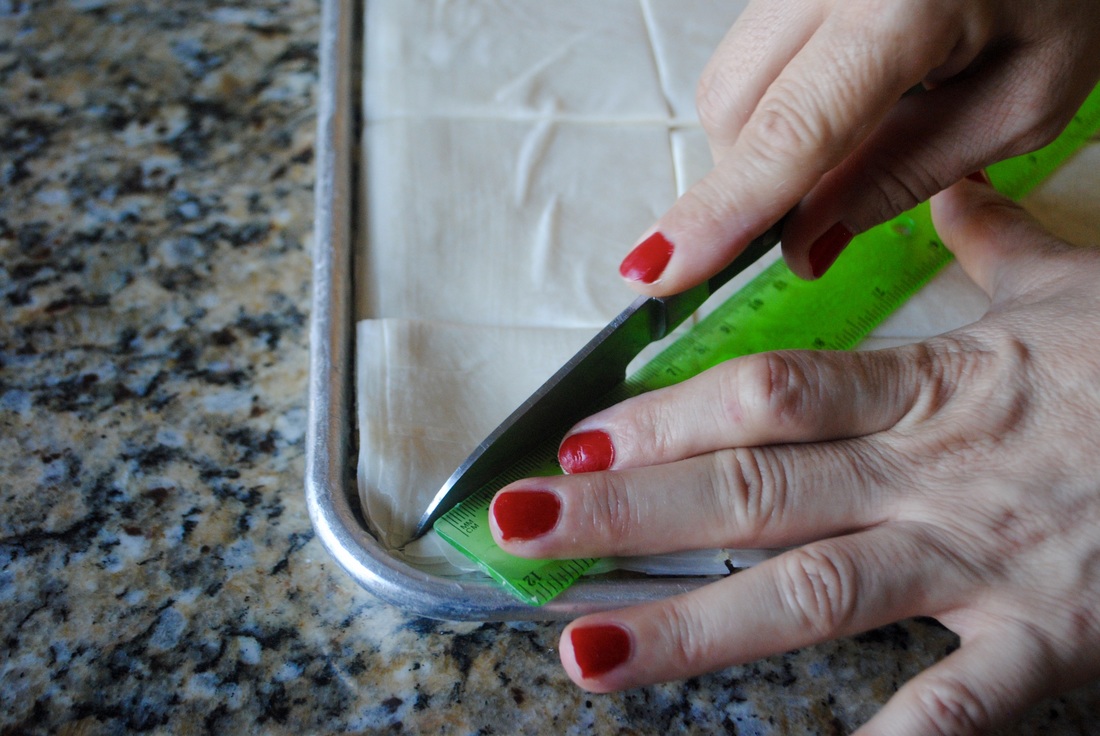
10. You can cut your baklava however you'd like. Here is how Eva does it:
  11. Remove your baklava from the oven and immediately pour atyr over it with a large deep spoon, Eva pours it down each row 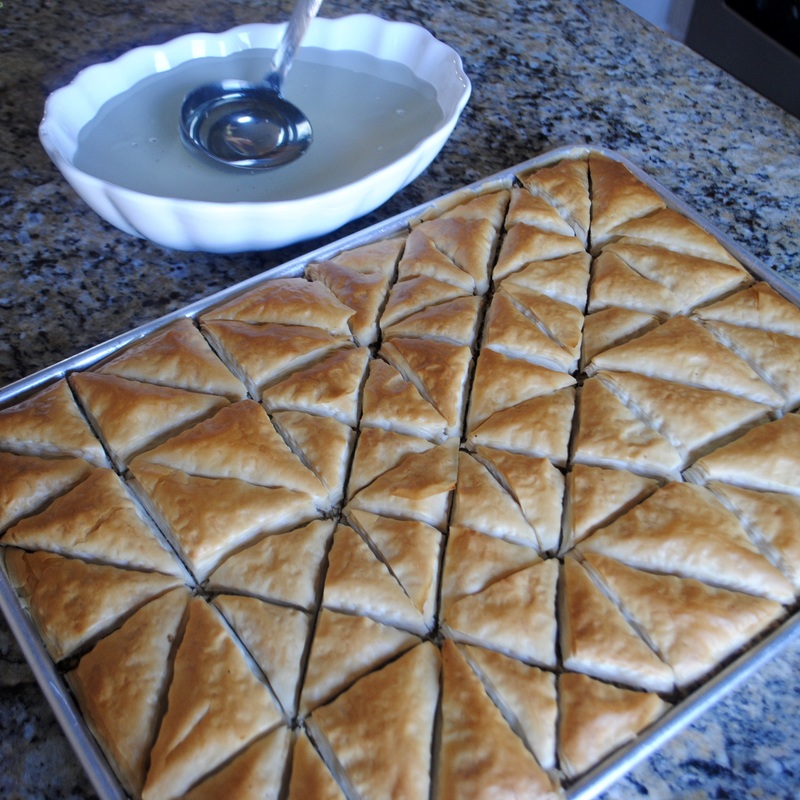 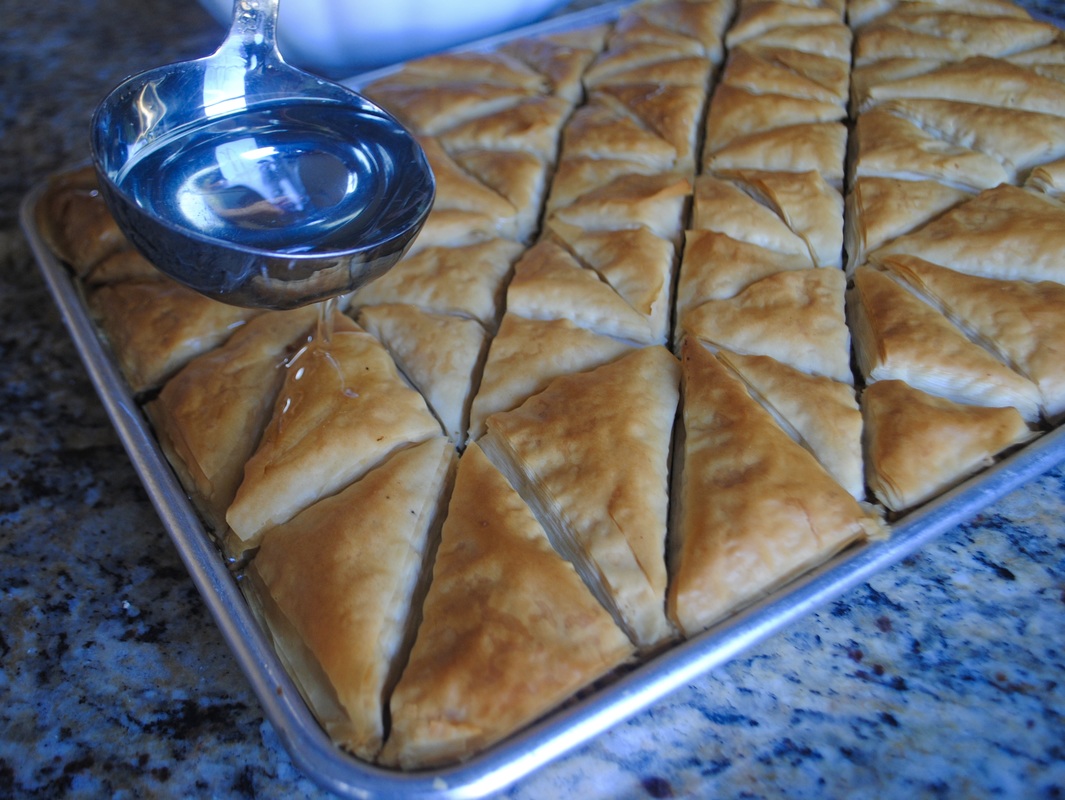 Let it cool and enjoy! For the holidays Eva likes to put the baklava pieces in festive cupcake holders and add them to cookie platters for family and friends! 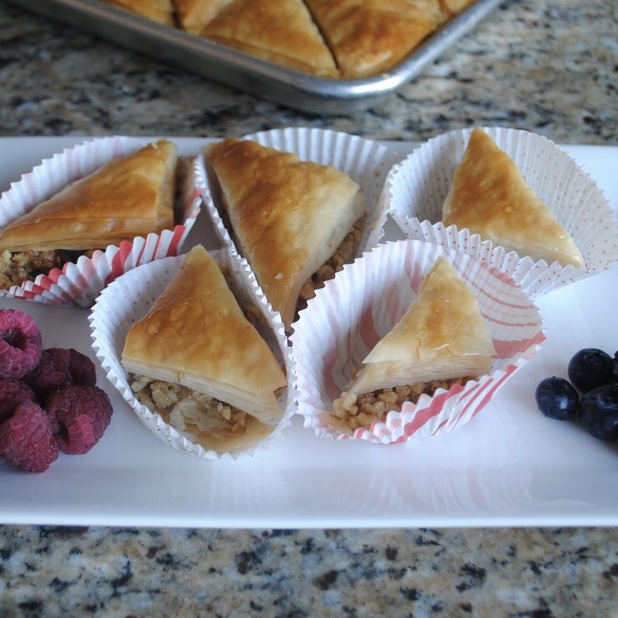 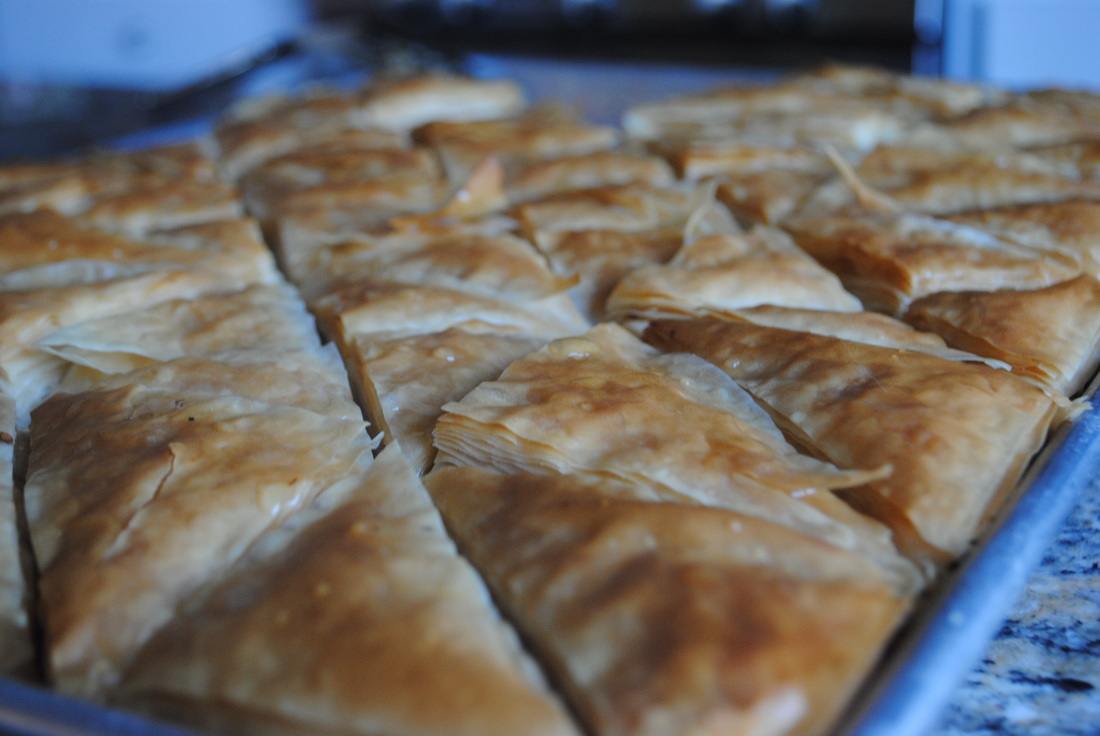 Yum! :) |